Lisa´s lynx
YMLiL01 YMLiL02

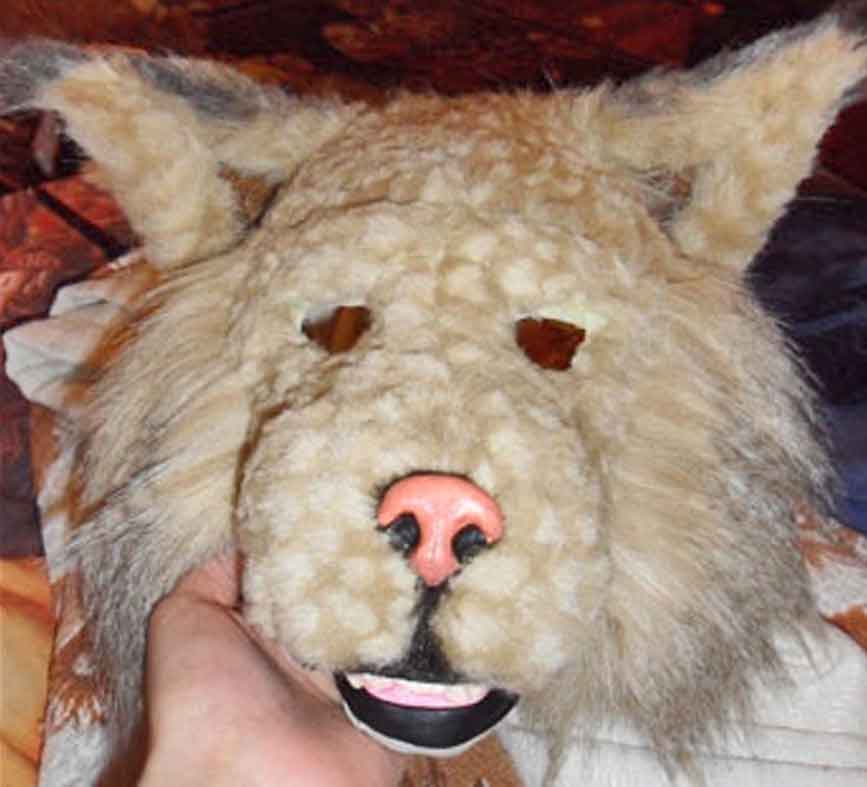
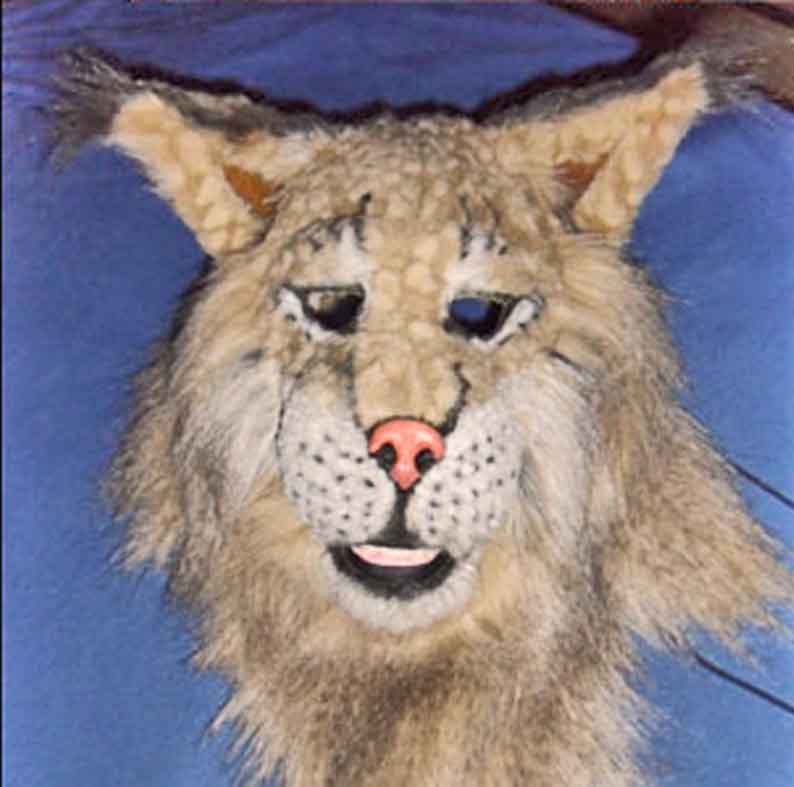
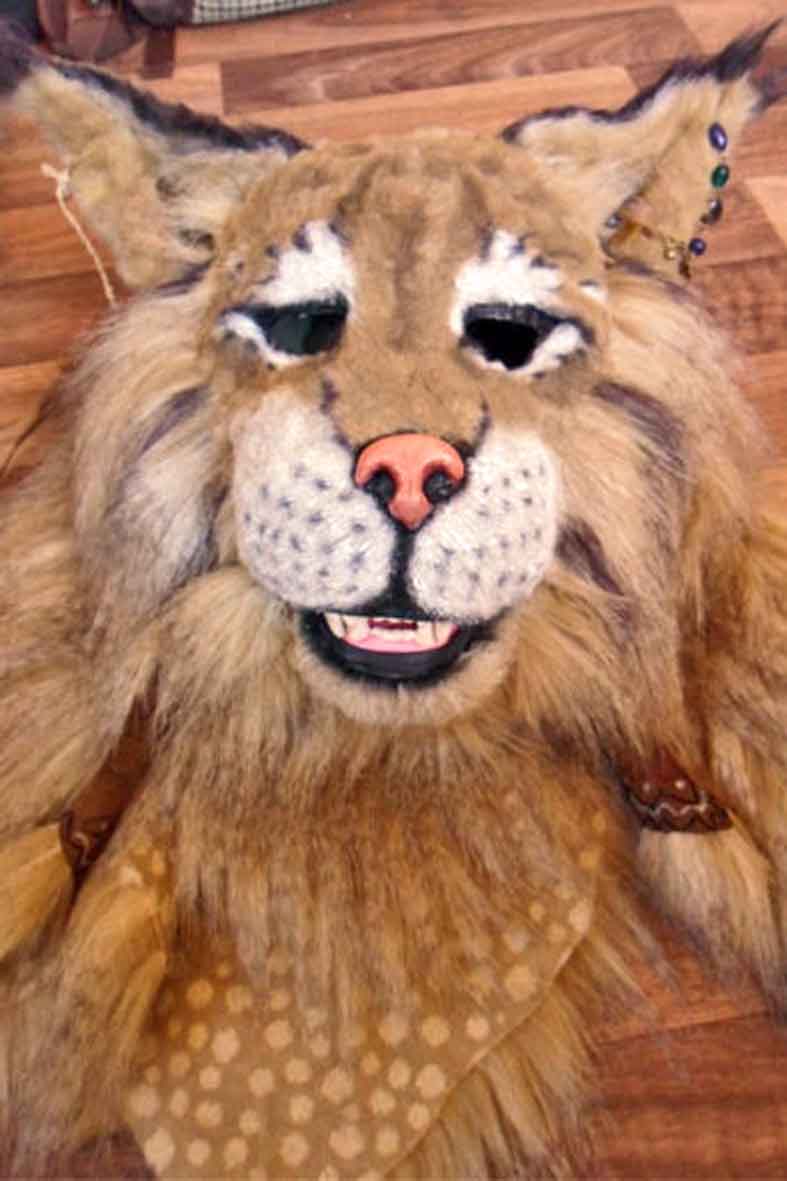
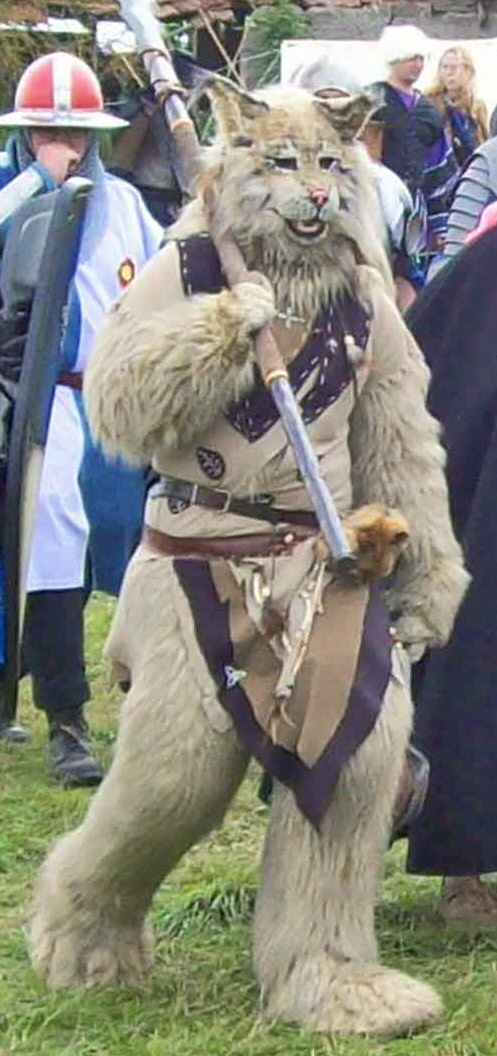
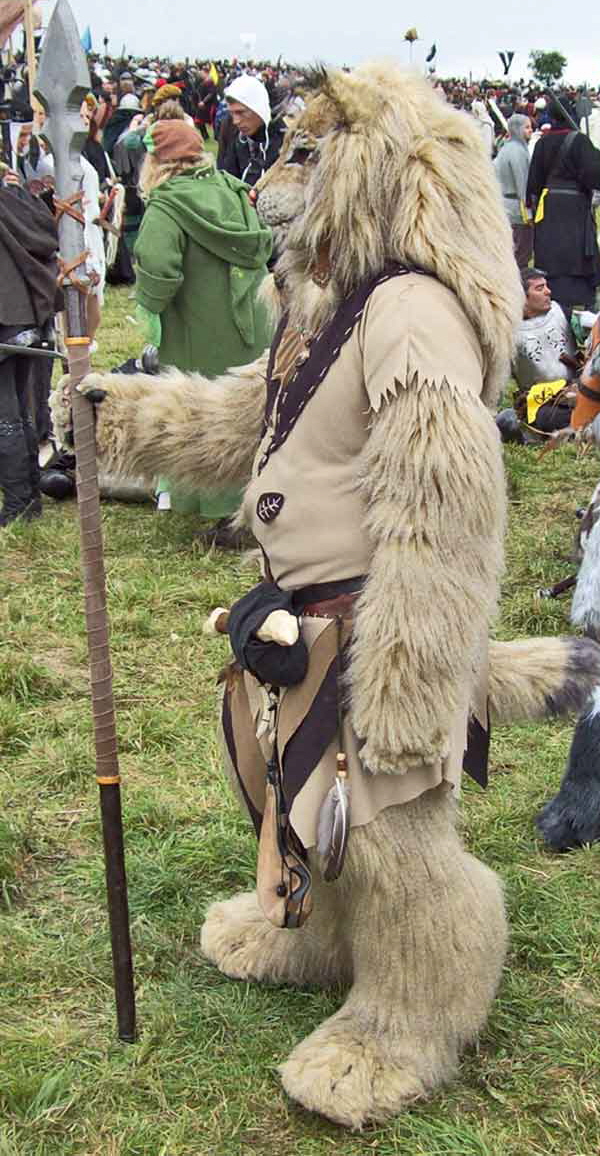
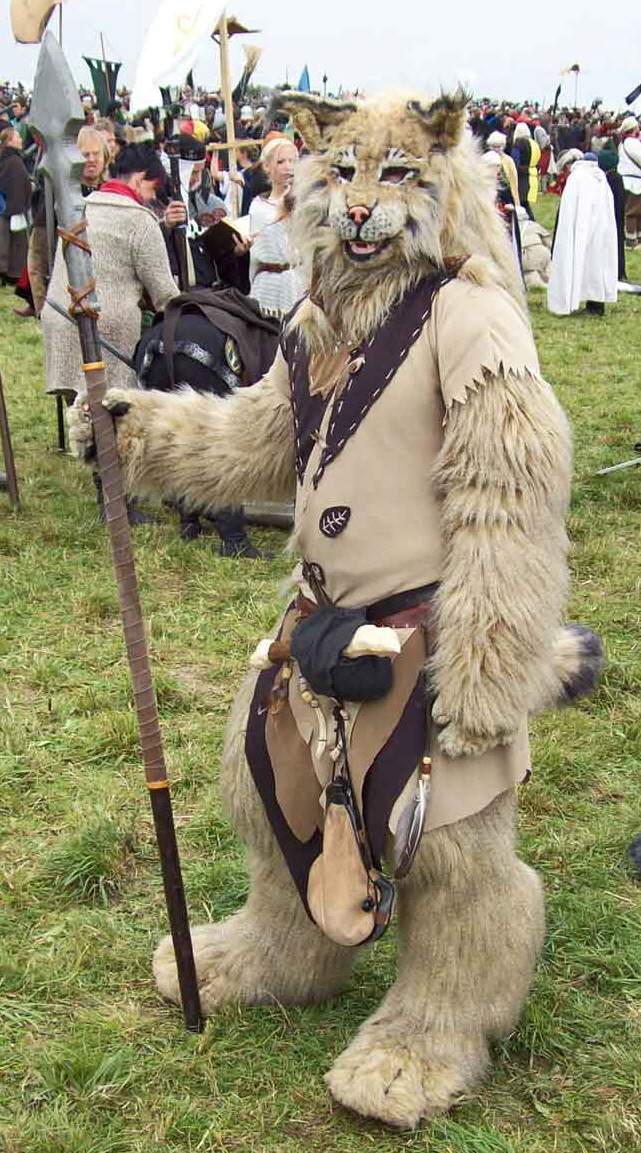
One criterion for a job well done is that it needs no explanation. This creature for example - despite all its strangeness- says “lynx” on the very first glance. It is Lisa´s variation of the “beastman”- theme towards feline species.
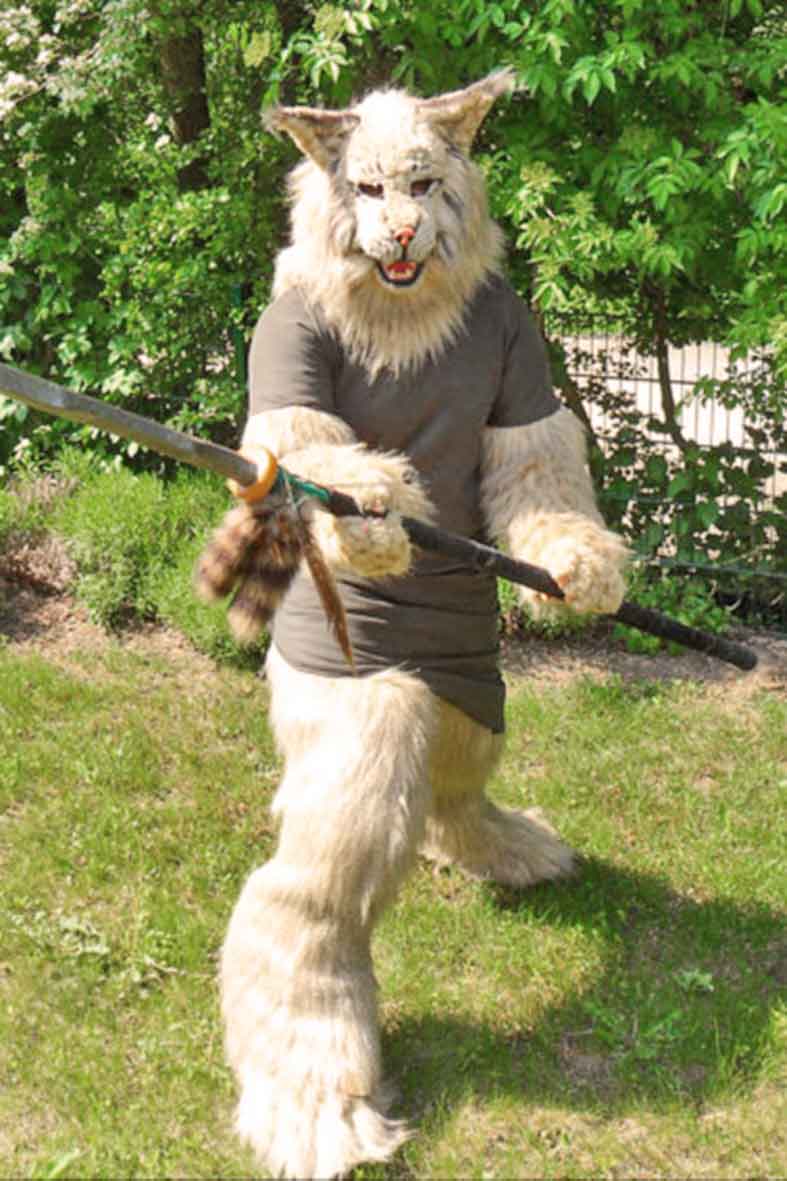
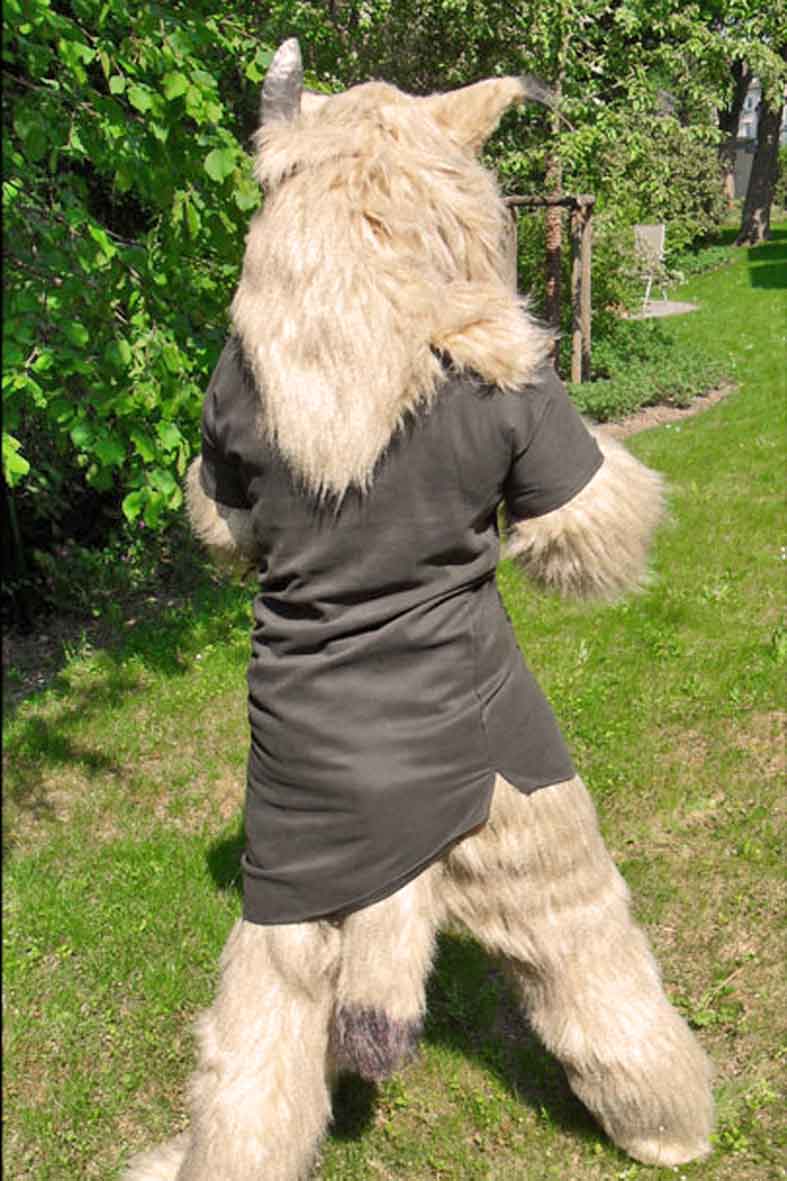
The pictures above show the outfit with improvised clothing during the test- phase. For better heat dissipation there is no fur under the clothes. The lynx is a player character (in contrast to Non- plyers- characters “NPCs” that work for the game supervisors). This means that the outfit is worn over long periods of time and has to meet correspondingly high standards.

From here on Lisas´s text:


The mask

YMLiL04
YMLiL03

Above:
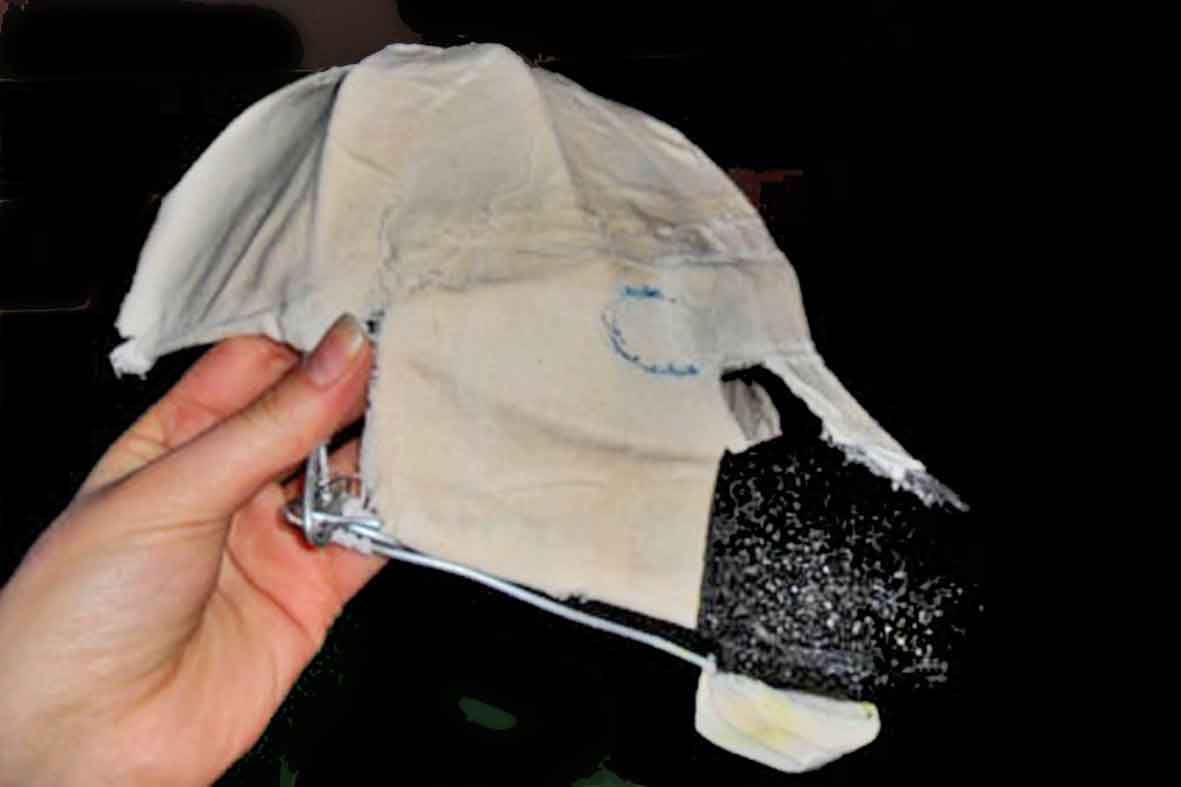
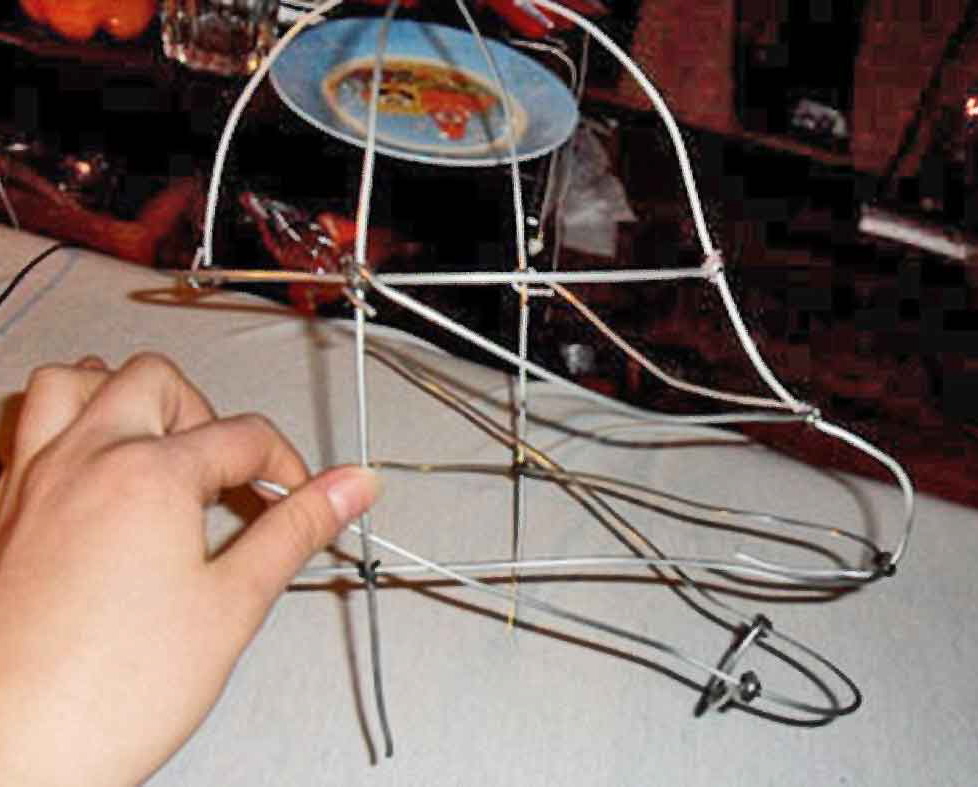
First I made the shape of the head from thick wire. It fits loosely to leave enough room for paddings to ensure wearing comfort. I installed enough strutting to make it stable. For the connections thin wire and hot glue was used.
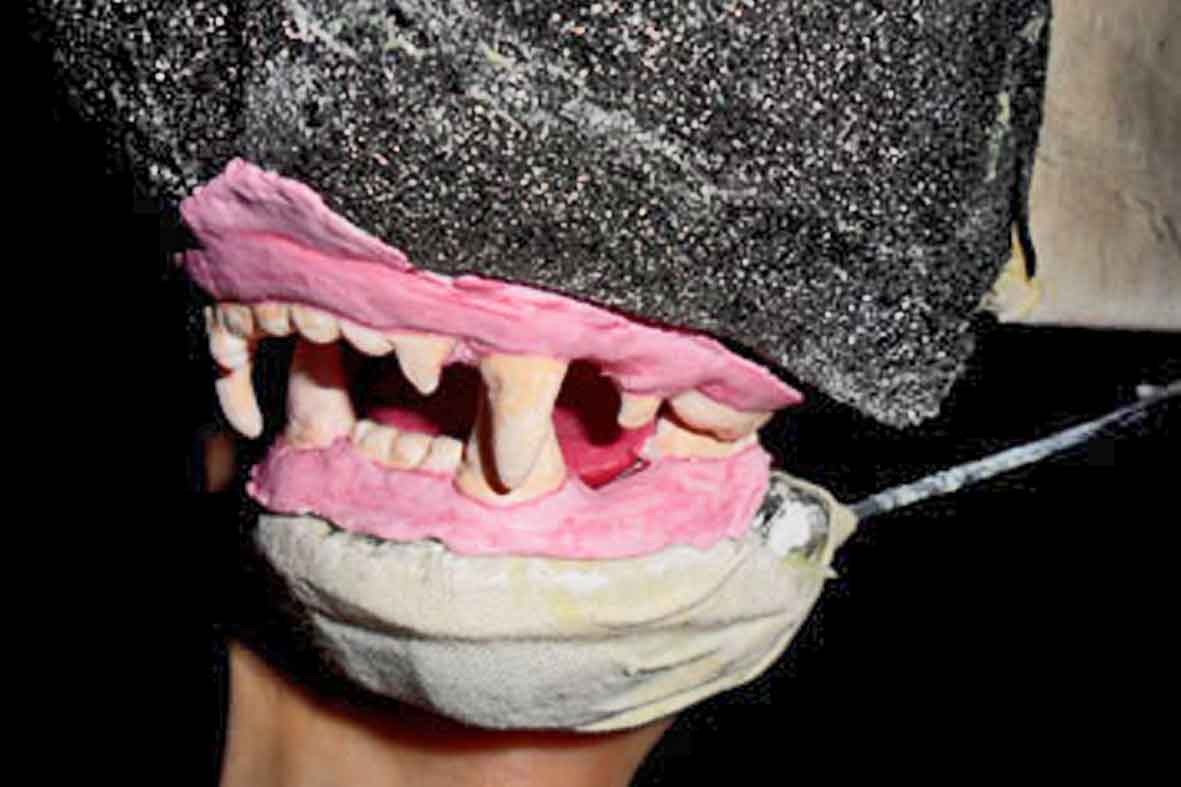
The lower jaw is a separate part attached to the mask with rubber bands. When finished, my chin will move the lynx´s mouth as I speak.

Onto the wire frame were mounted pieces of cloth coated with glue. This stabilzes the construction and eases the attaching of the artificial fur.
I then glued foam onto the cloth/ glue layer and carved it into shape.

YMLiL06
YMLiL05

Above:
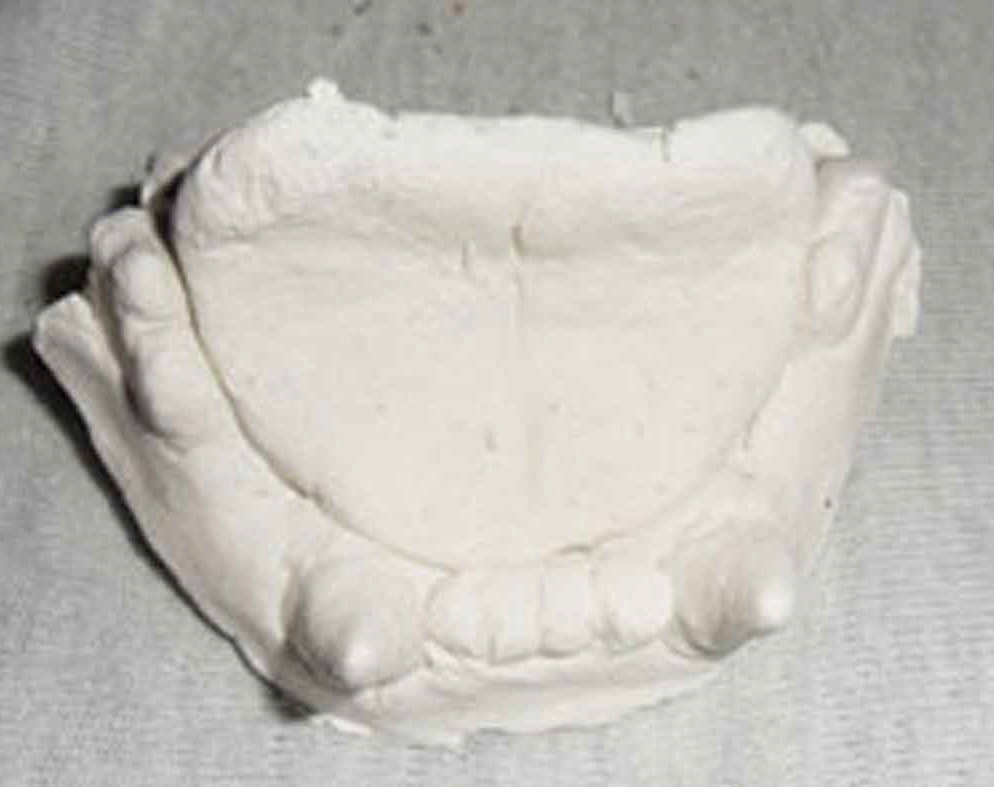
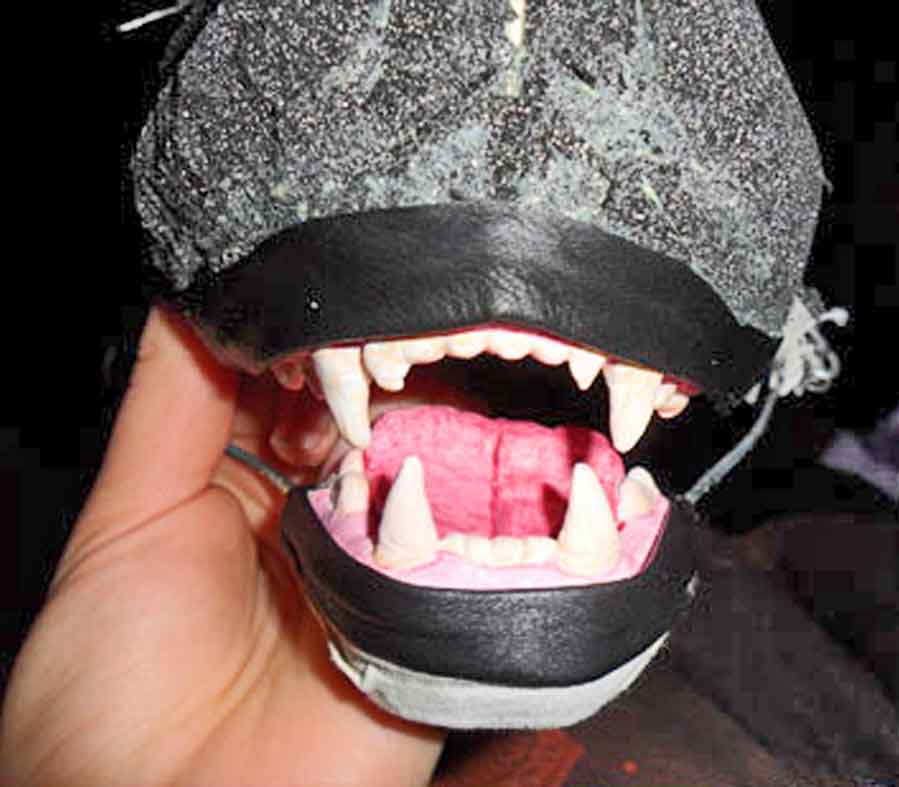
For the set of teeth I used modelling clay. I adjusted it to the mask´s jaws and then sculpted teeth, gums and tongue. I also built a cavity into the lower jaw that my chin fts into. That is the way the jaw moves when I wear the mask.
After the modelling clay had dried I coated it with water-resistant wood glue, painted it and then applied a final layer of glue (the modelling clay wasn´t water resistant but the glue fixed that).
The teeth were glued in with Pattex.

YMLiL08
YMLiL07

Above:
The chaps I made of soft black leather and attached them around teeth and gum.
The ears are glued on a wire frame. Their outside is fur and the insides are made of leather. I inserted the wires though holes in the head and then bend them.
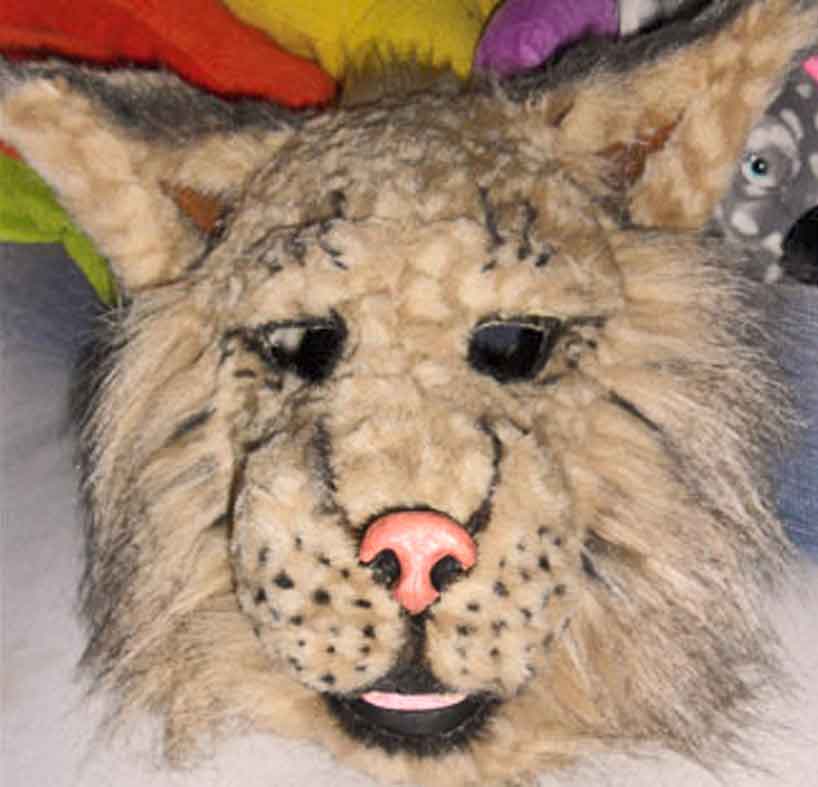
Then I glued fur onto the head (pay heed to the hair´s direction). For this I used no paper pattern but leftovers from the making of the arms´and legs´ shapes. On the cheeks you see that the fur is quite long so I shortened it to depict the faces´much shorter hair coat.
Mottled artificial fur is produced in a way that the different colours are interwoven in “blotches” which become visible when the hair is shortened (see upper right picture). So when deciding upon the sort of fur you´ll work with pay heed to this. The colours can be harmonized with a felt pen (if you find the right hue) or with acrylics (which tends to make the hairs stick together).
The nose was sculpted from modelling clay and then glued on.

Below:
I then laid out the first shadowings with a permanent marker. The white hues on the right picture were achieved using a laquer marker but tended to crumble away so I employed acrylics. The black marker worked all right on artificial fur.

YMLiL09
YMLiL10

Building the body
The paws
Below:
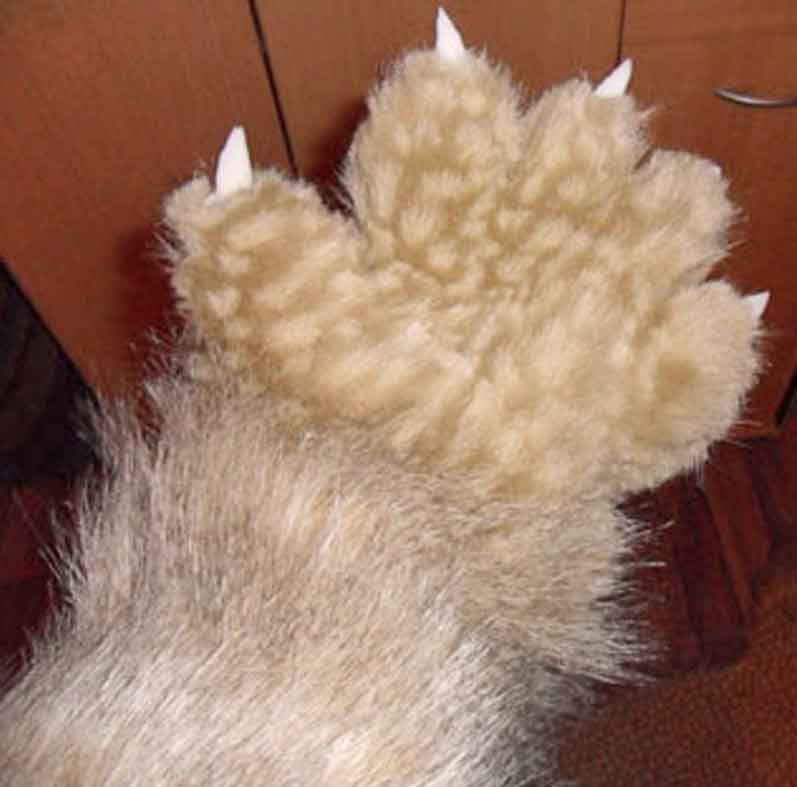
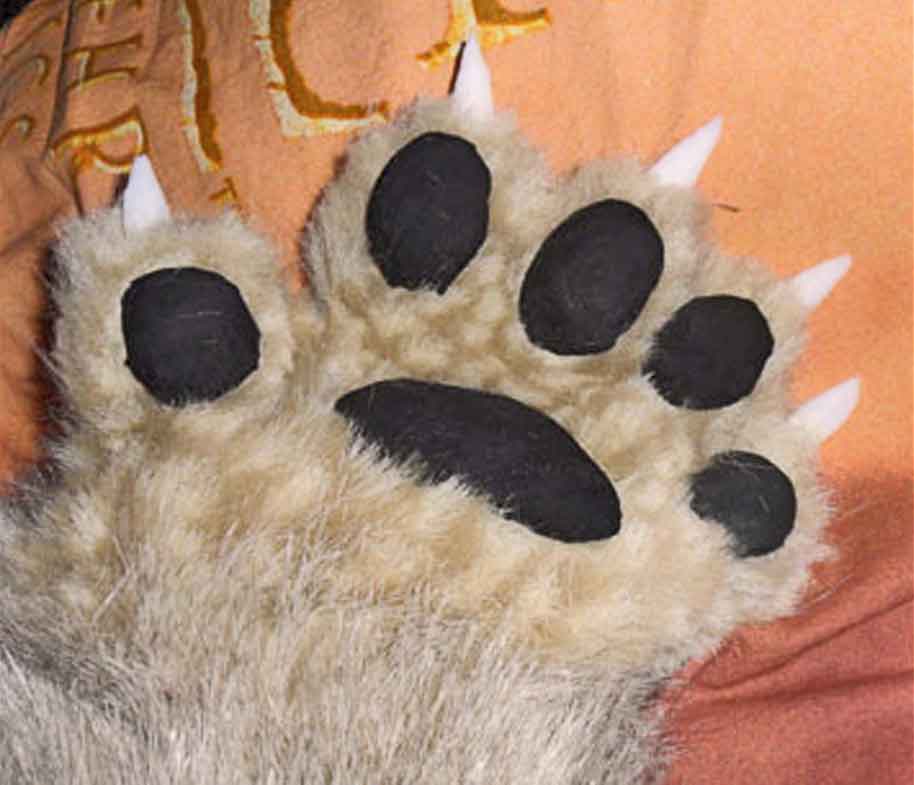
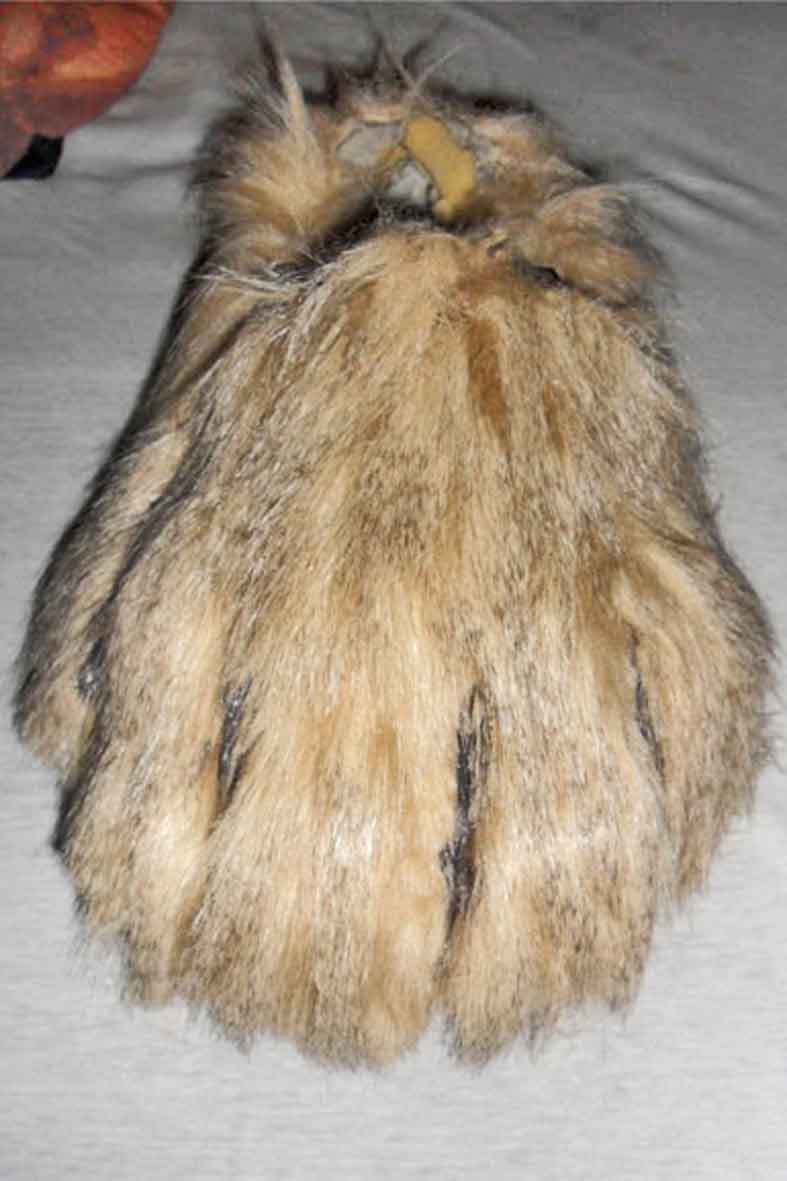
When making the paws I first laid my own hand onto a sheet of paper and outlined it, then drew the shape of the lynx´paw around it. This I used as a paper pattern.
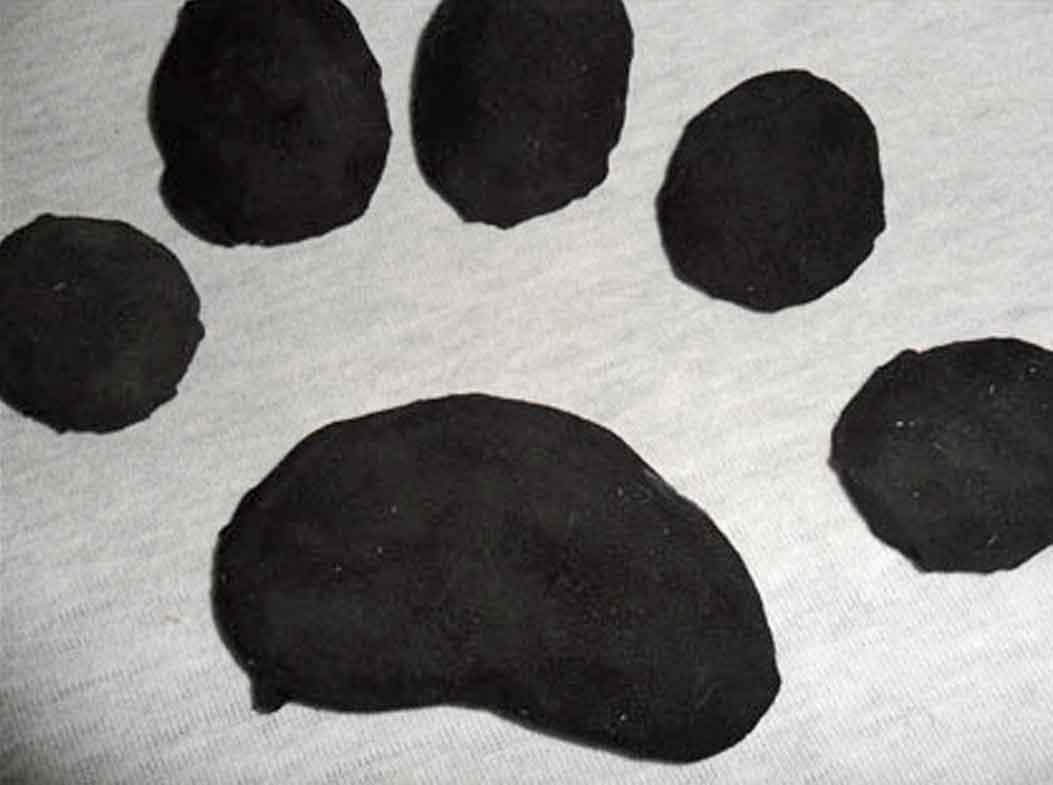
Tha paw´s balls are foam with a layer of soft leather. They were then glued into the palm after trimming the fur.
Finally I harmonized the colours with white and grey acrylics. This covers the mottles well and makes for a more realistic look.

YMLiL11 YMLiL12
YMLiL14
YMLiL13

The legs:
Below:
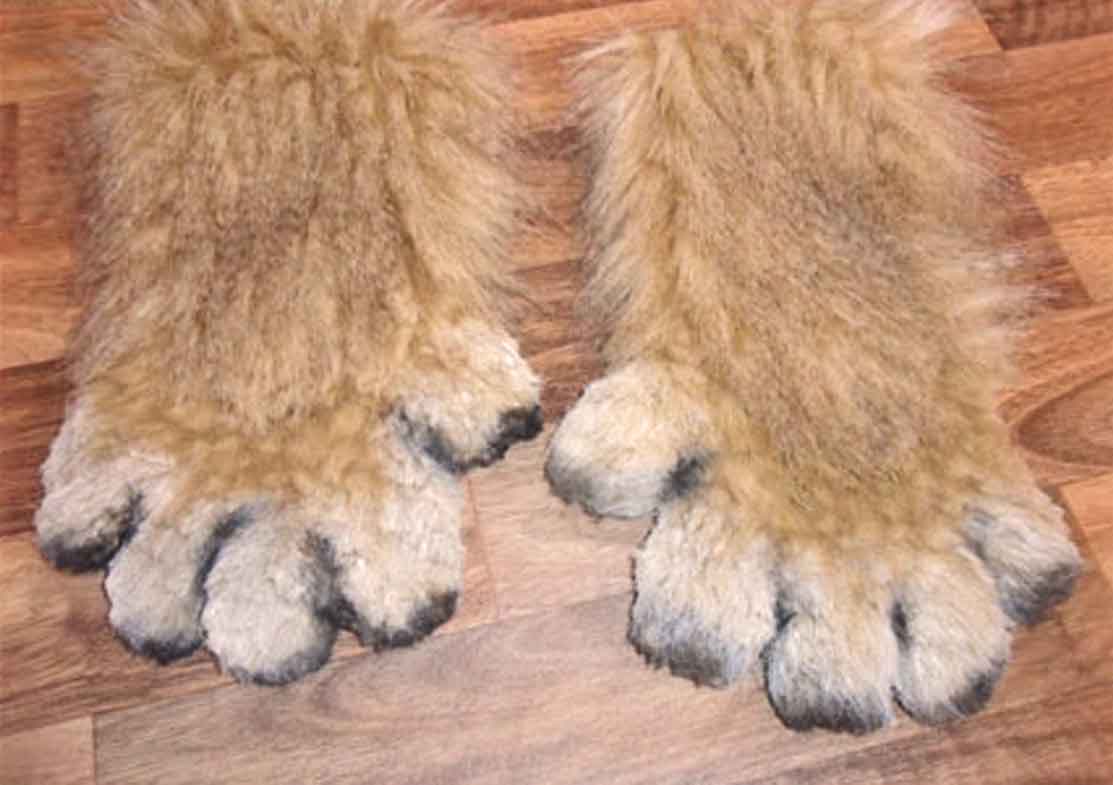
I decided to build “digitgrade” legs for the lynx.
To achieve this effect I sewed foam pads onto an old tight. Then I made a paper pattern first of cloth leftovers in order not to ruin the valuable fur with a failed attempt. That way it is possible to change the paper pattern if necessary and only cut the fur when you´re sure.
When the fur trousers were finished I removed the foam pads from the tight again and affixed velcro tape to pads and trousers. Thus the pads can be removed before washing the fursuit and afterwards easily be reattached.

YMLiL16
YMLiL15 YMLiL17

Above left and middle:
feet
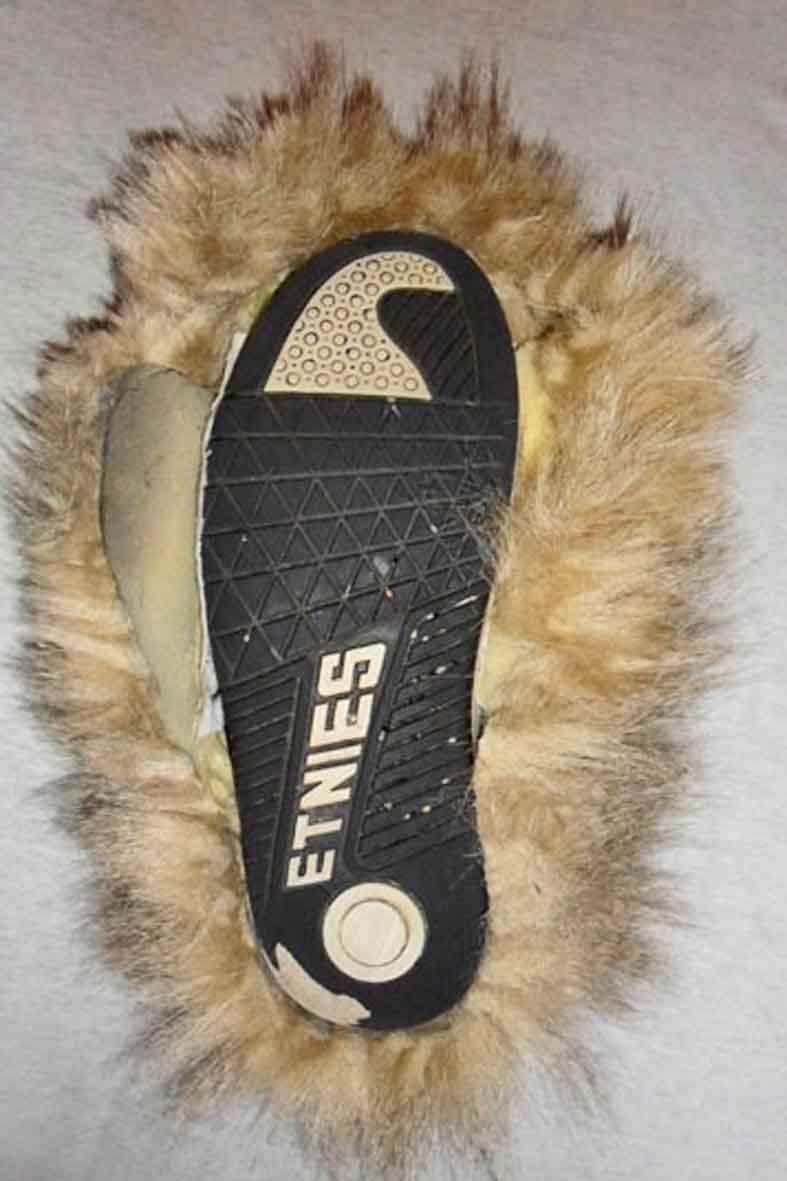
I carved each toe individually out of foam and then glued them onto a shoe. On these the fur was affixed. For this leftovers are suited perfectly.

Above right:
The head as it looks momentarily. I dispersed with the mottles using acrylics and added a few highlights.

Changes/ To Dos
I´ll alter the head covering a little because the blotches it obsured are gone meanwhile.
I still have to make the garb.

material, expenses and tools:

materials used:
wire 4 mm (5 €)
wire 1mm  (2 €)
cloth leftovers (to hand)
wood glue, water resistant (7 €)
foam for larp- weapon- building (leftovers, to hand)
soft foam (f.ex. from an old sofa)
modelling clay (2 €)
acrylics (to hand)
rubber band (to hand)
soft leather (leftovers, to hand)
felt pens and permanent markers (to hand)
artificial fur 3m x 1,60m (the most expensive item of the project; 39 €/m, although it is possible to obtain fur for a better price at sales- events.)
Pattex (13 € can)
sewing thread (to hand)
hot glue (to hand)
shoes (to hand)
tights (to hand)

overall expenses without garb and adornments: about 150 €

tools:
cutter blades
scissors
pliers
brushes

YMLiL18
YMLiL19 YMLiL20

Above: The lynx at Drachenfest 2011

Me again:

And one more we see how complex a “realistic” portrayal is- while building the creature the look isn´t the only thing one has to keep in mind - contrary to show- or movie- outfits. Aspects to be considered are field of vision, a certain wearing comfort, safety aspects as for example adequate padding of the mask (sources of danger are falls, forcible dislocation or impacts from foam weapons) or the option to wash the suit.

A lot of work but undeniably it was worth it. Thanks for the pictures and the documentation!
Alex

[Home] [Deutsch] [English] [about me] [what´s new] [Contents] [about monsters] [faqs] [other sites]