|
|
|
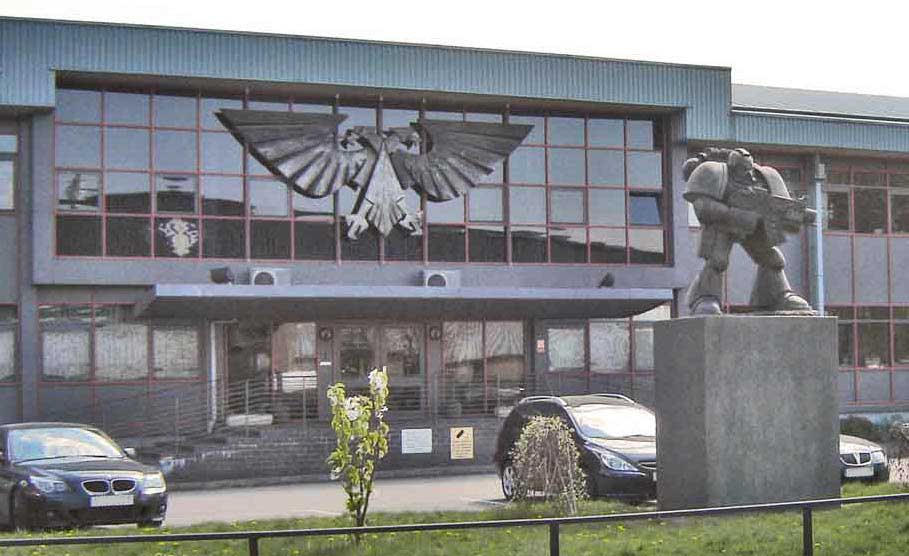
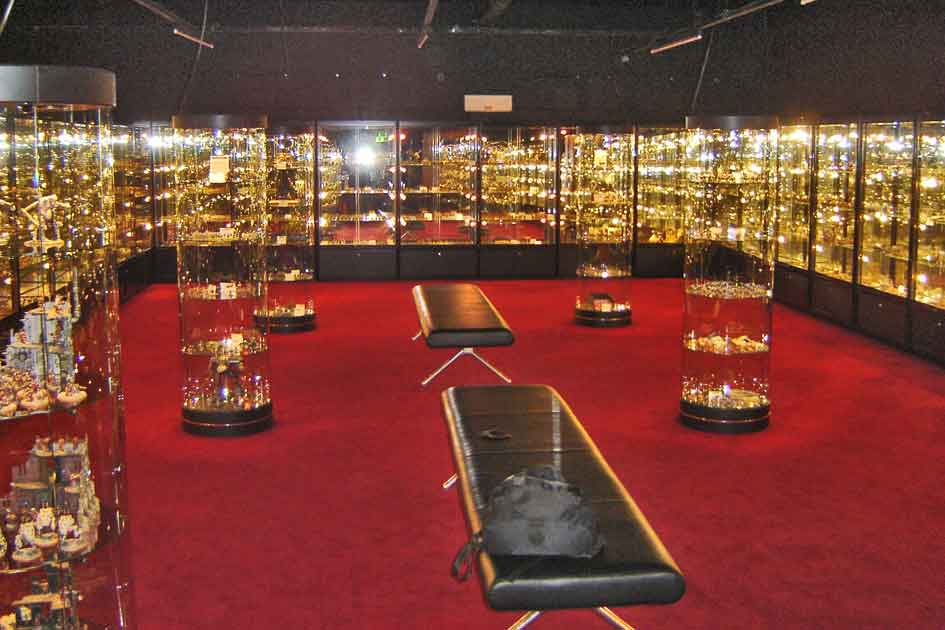
“Into the darkness he went. Into the flames of hell. With his head held high. And he smiled”. Since I know what chaos- space marines do in their spare time, I am a fan of the wordbearers. These guys have a mission. And although Michael Moorcock has invented the principle of “Chaos” as it is widely known nowadays, it was Games Workshop who gave it a face. My oldest warhammer edition (three booklets with minor and major heroes) is from 1984 and since then a few miniatures have accumulated (the oldest from pre-slottabase-time). My earliest White Dwarf issue is no 91 (july 1987. From the original legal notice: editor: Mike Brunton, bits´n bobs: Graeme Davis, useful flunkey: Sean Masterson and art director: a certain Mr. Blanche). Thanks for being there, guys. Below left: GW Nottingham, below right the most impressive miniature collection in the world with integrated time-acceleration-field (suddenly a few hours have passed...) |
|||||||||||||||||||
 |
 |
||||||||||||||||||
|
But now back to foam, pattex and the original theme: |
|||||||||||||||||||
 |
 |
||||||||||||||||||
 |
|||||||||||||||||||
|
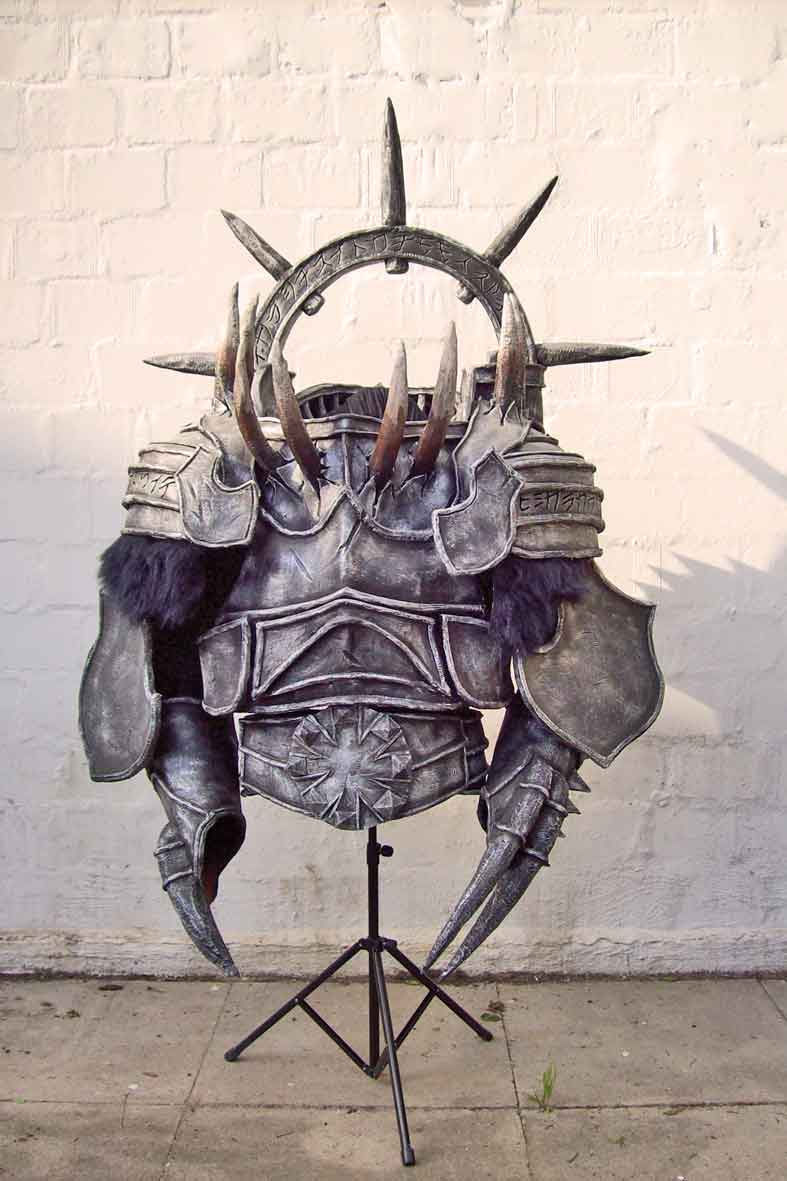
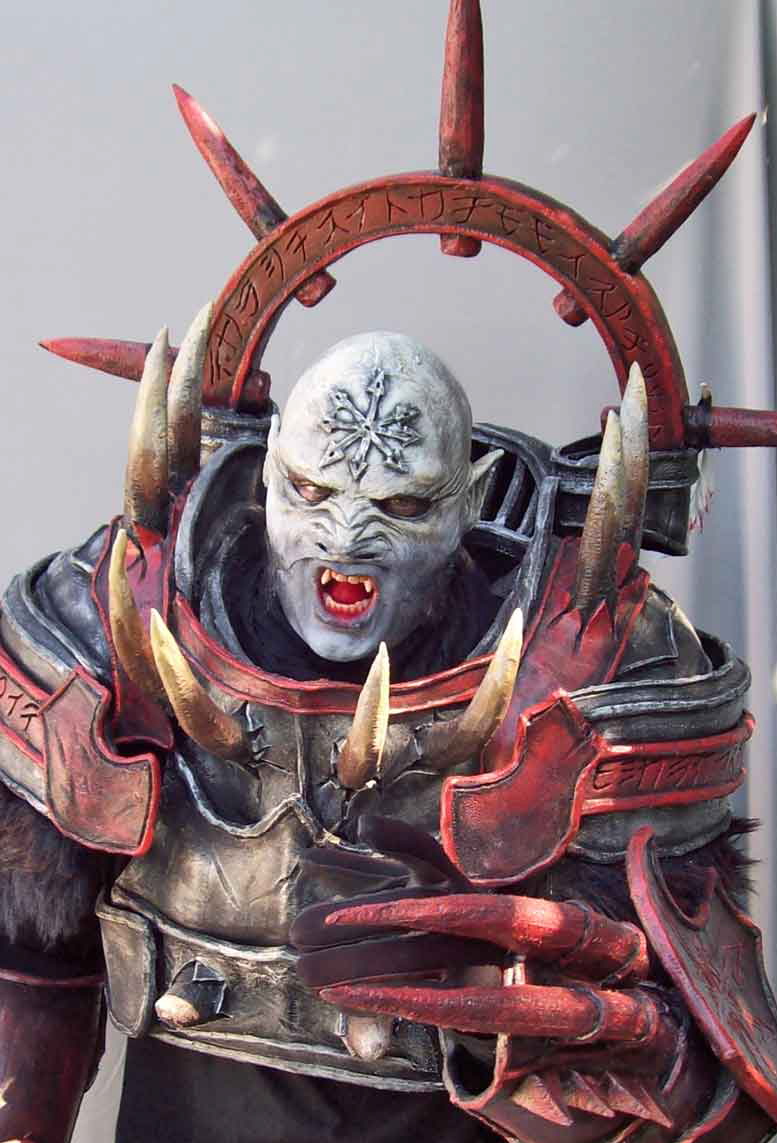
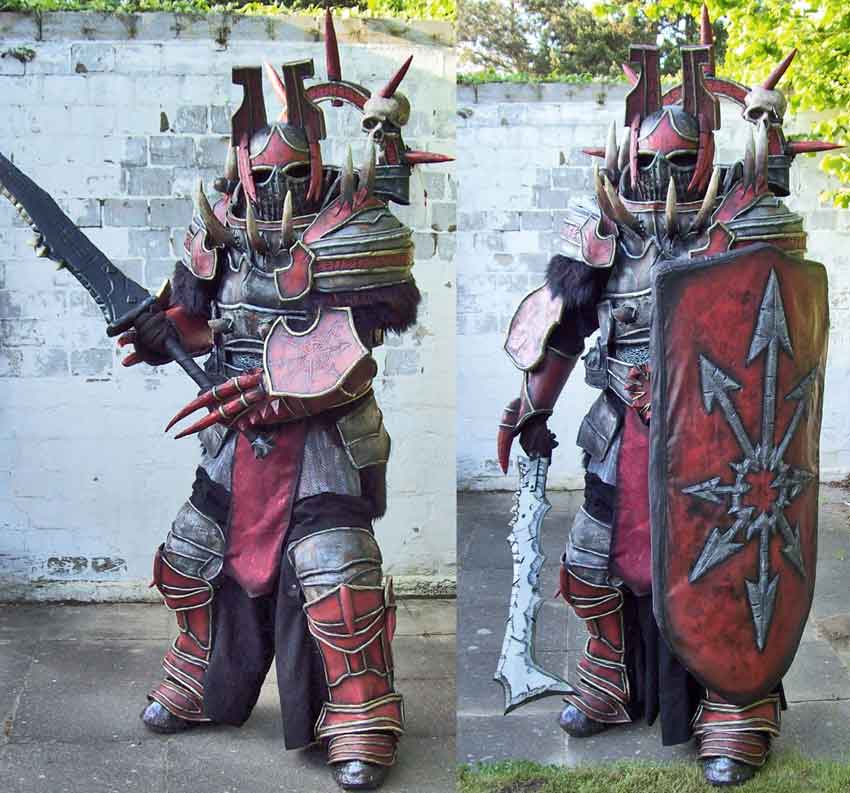
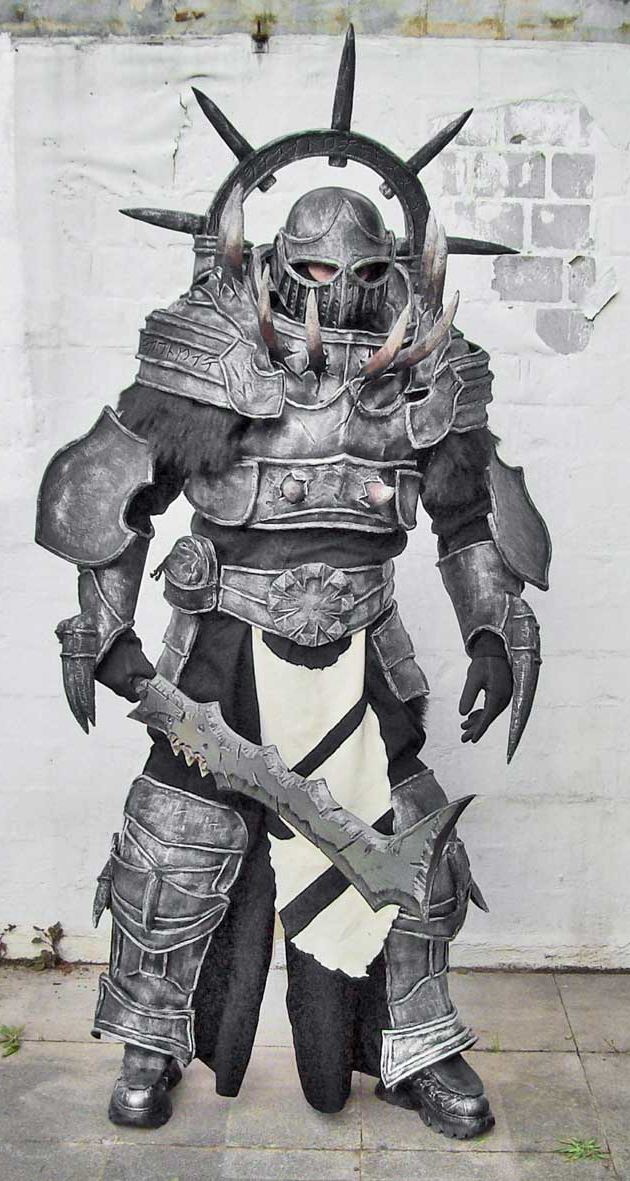
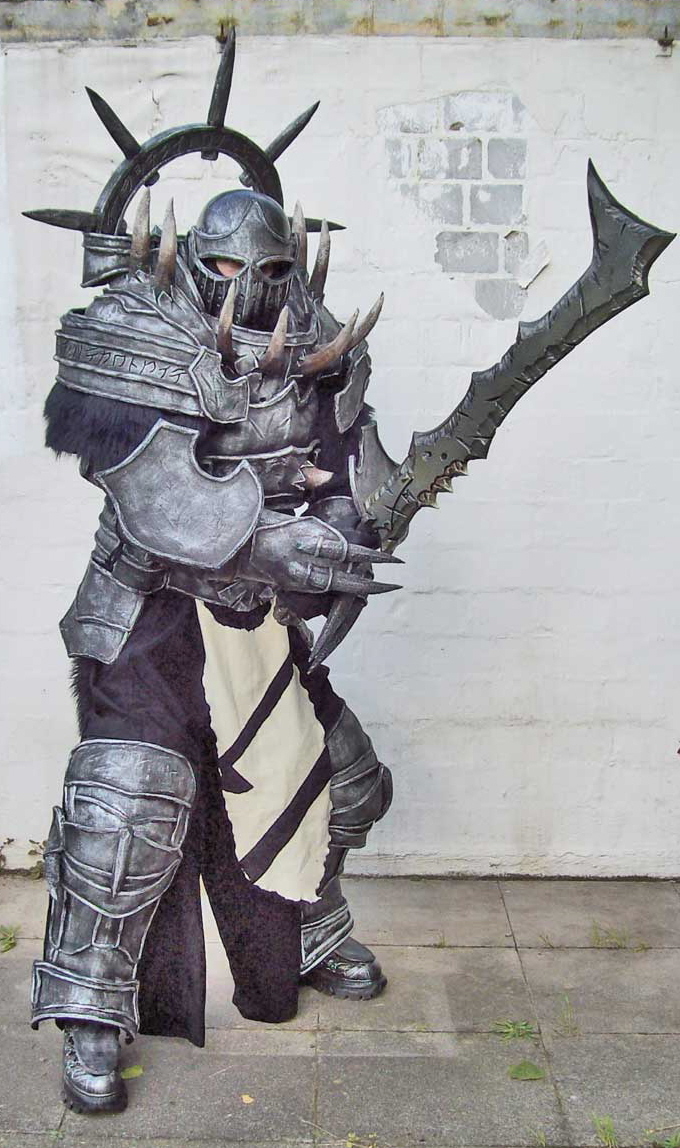
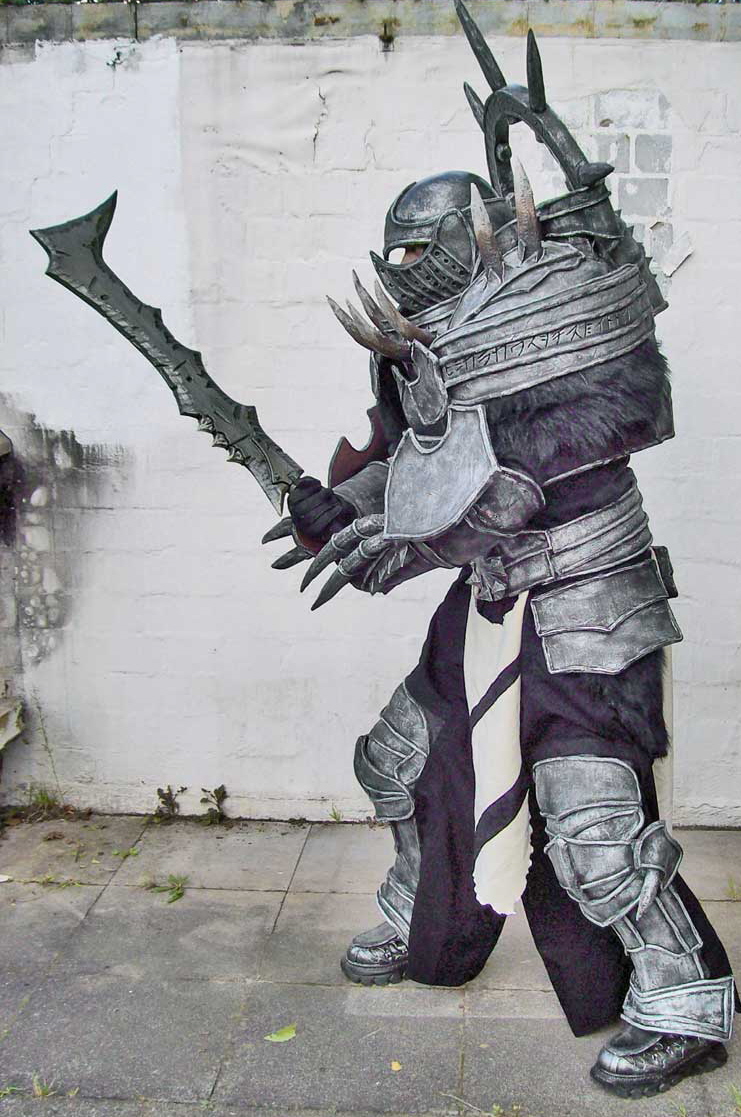
Above left 2009, above right 2011 (with mask for speaking parts), And you don´t build them in one go- mine was made in several “phases” since 2009 and is now (2013, including maintenance- time) heading for the 500- working-hour- mark. |
|||||||||||||||||||
 |
 |
 |
|||||||||||||||||
|
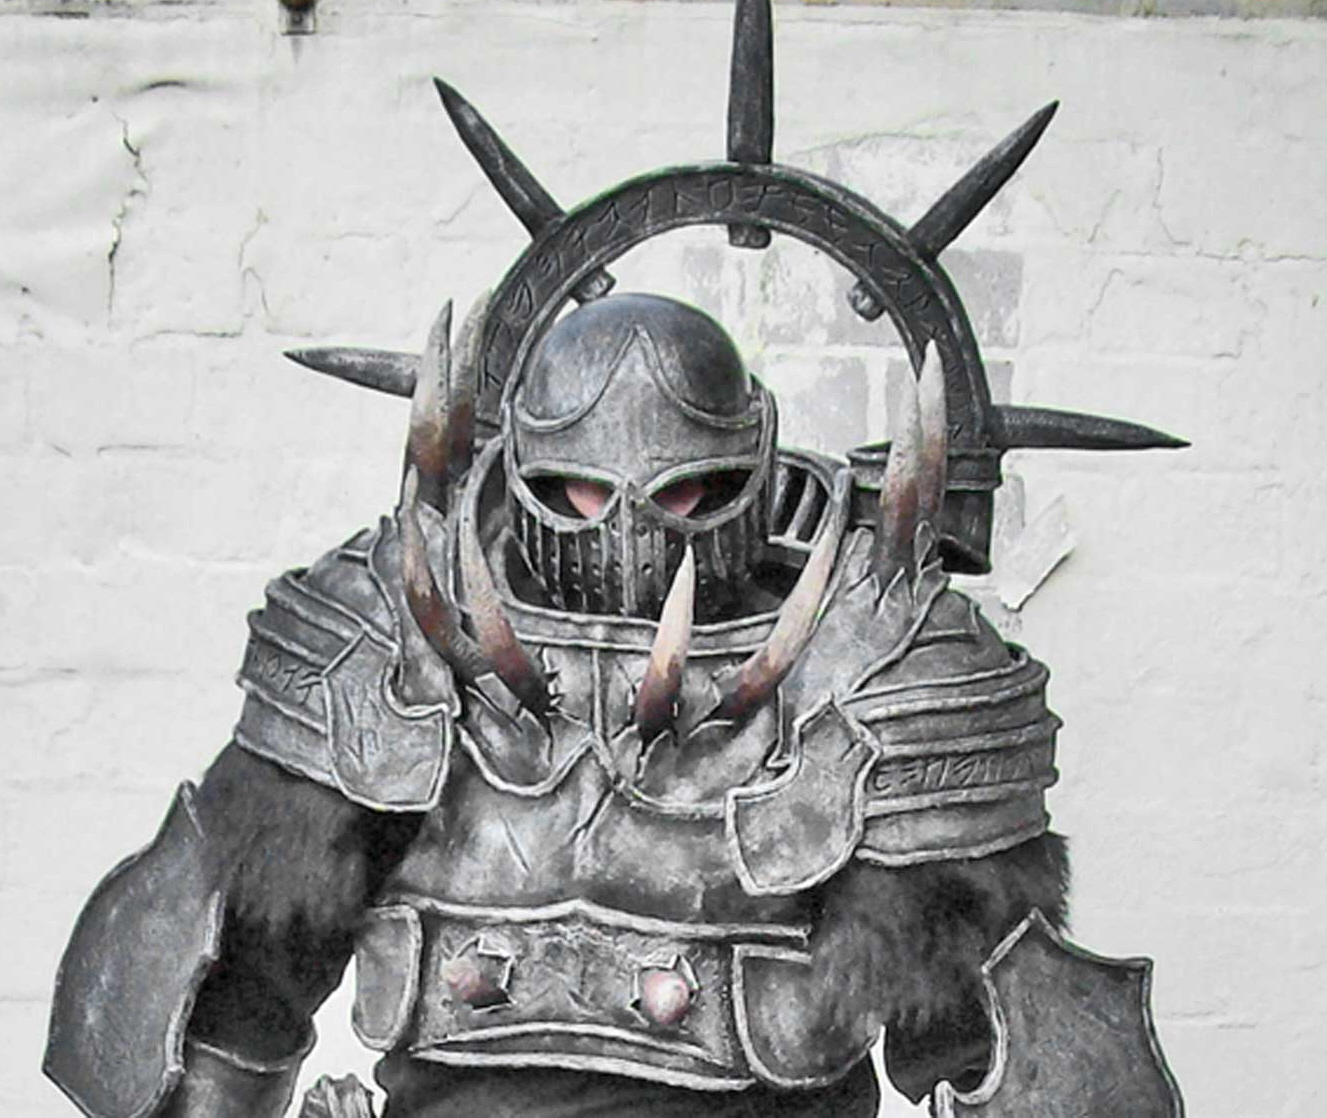
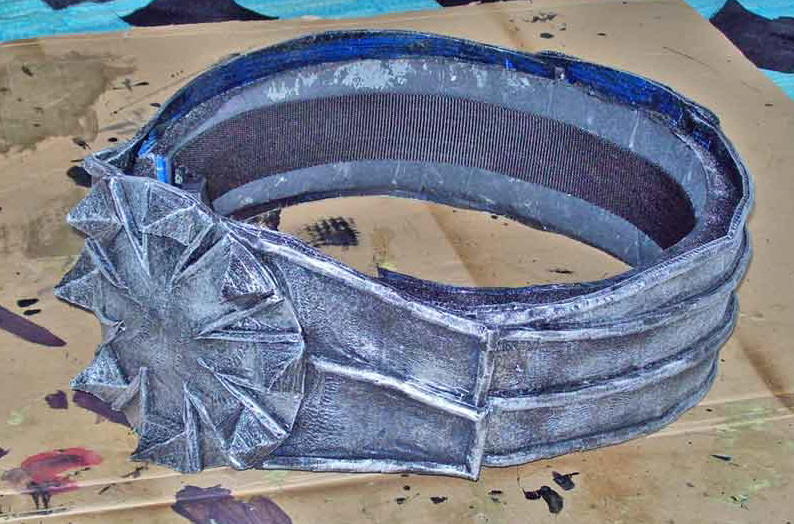
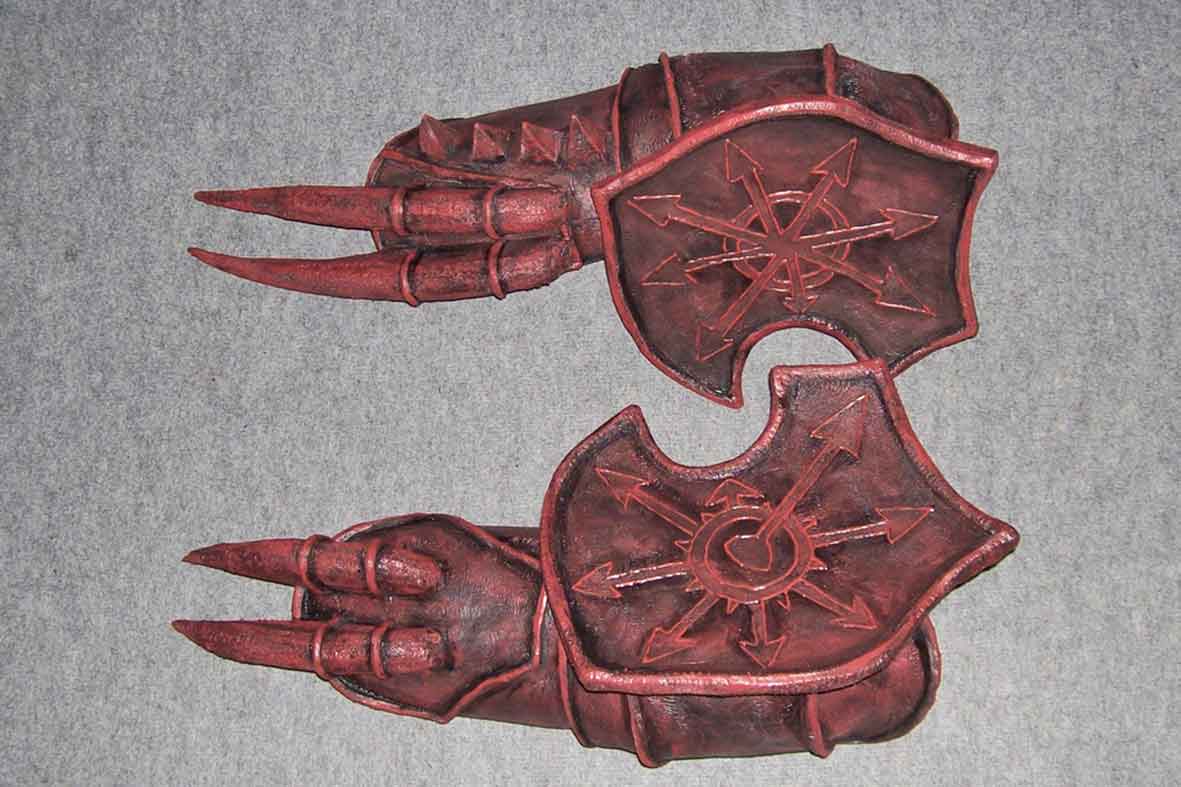
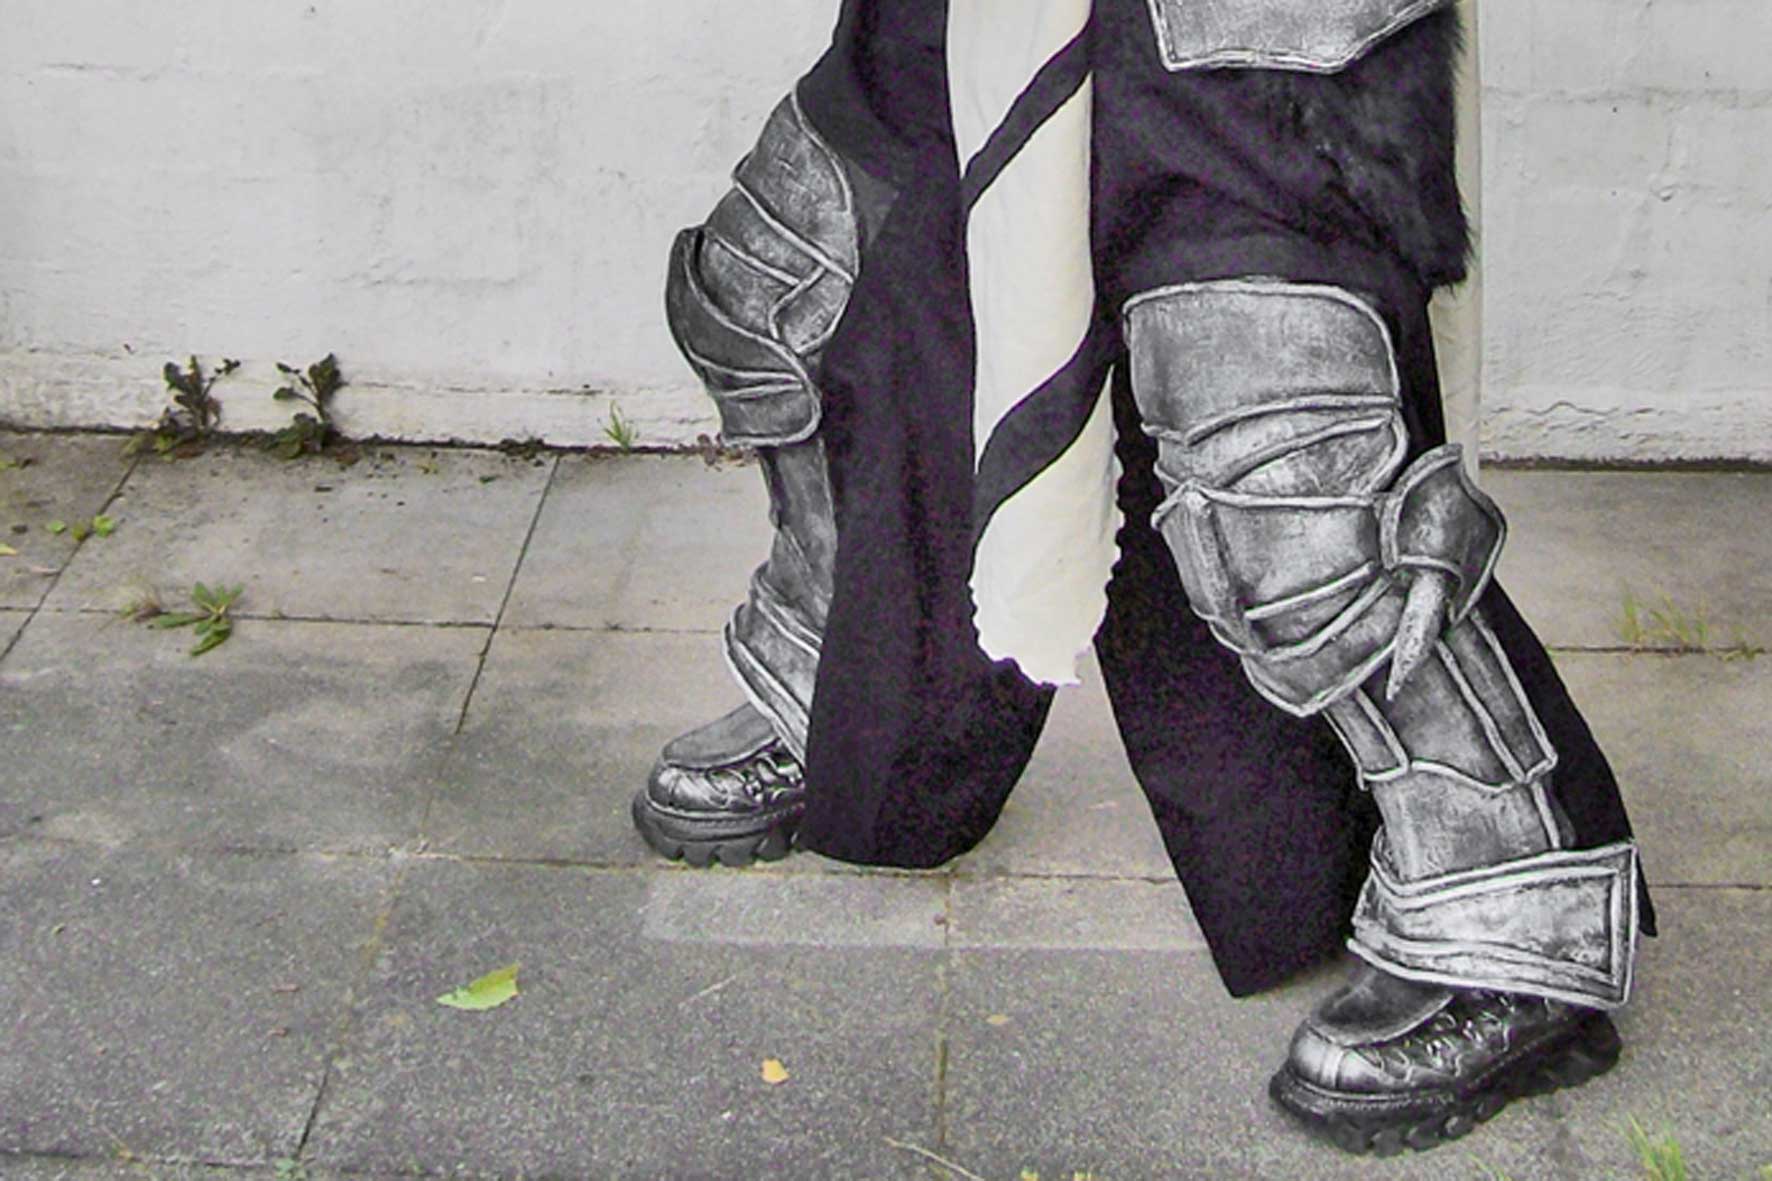
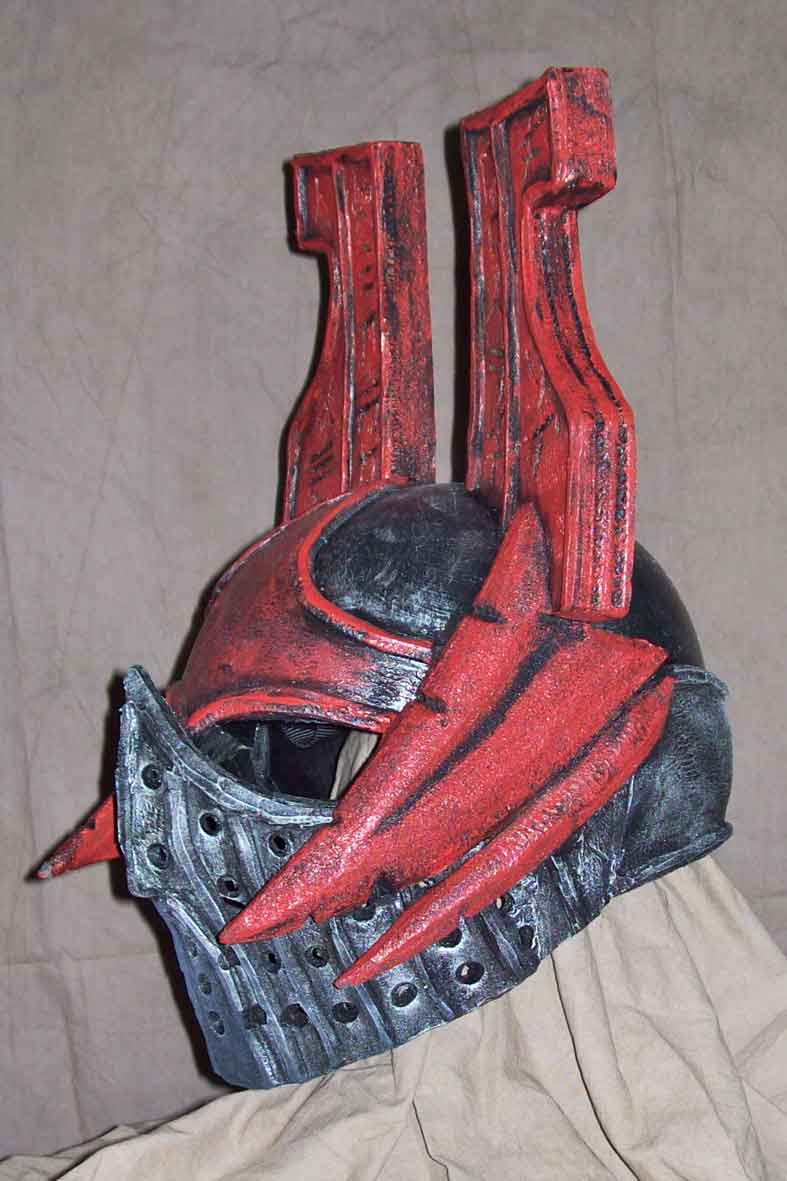
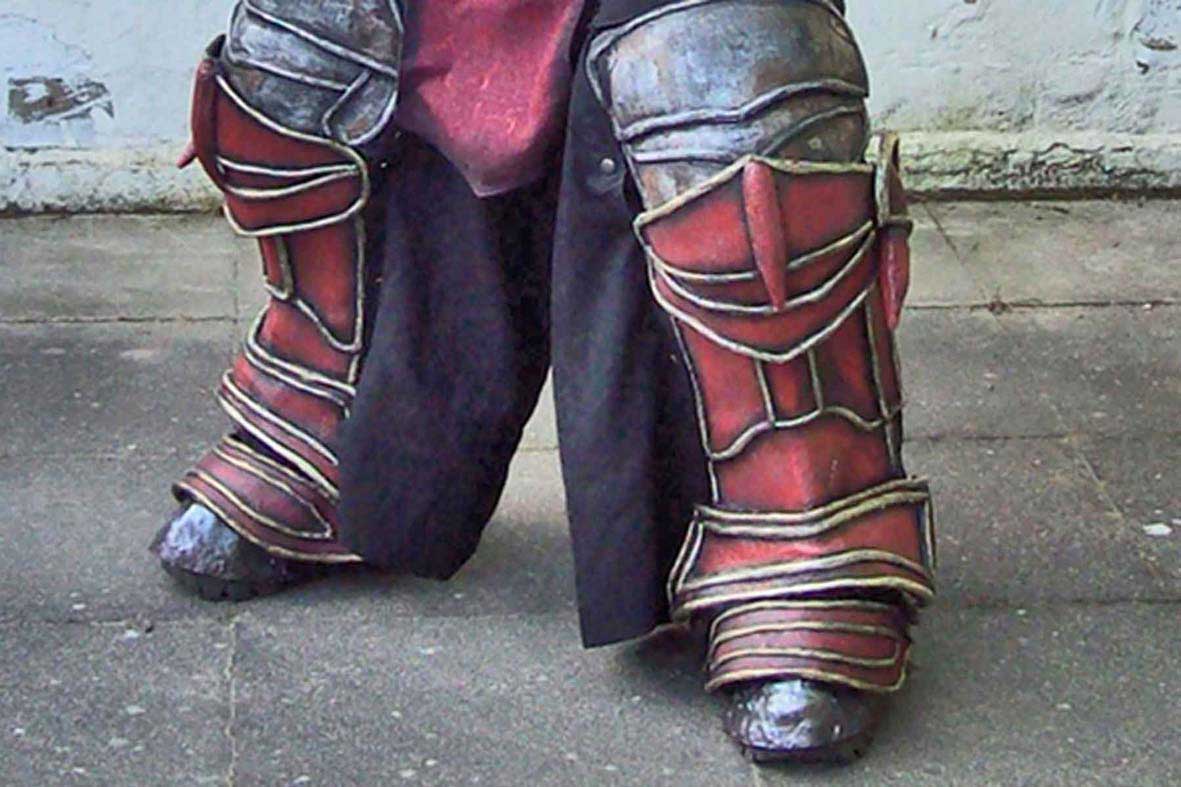
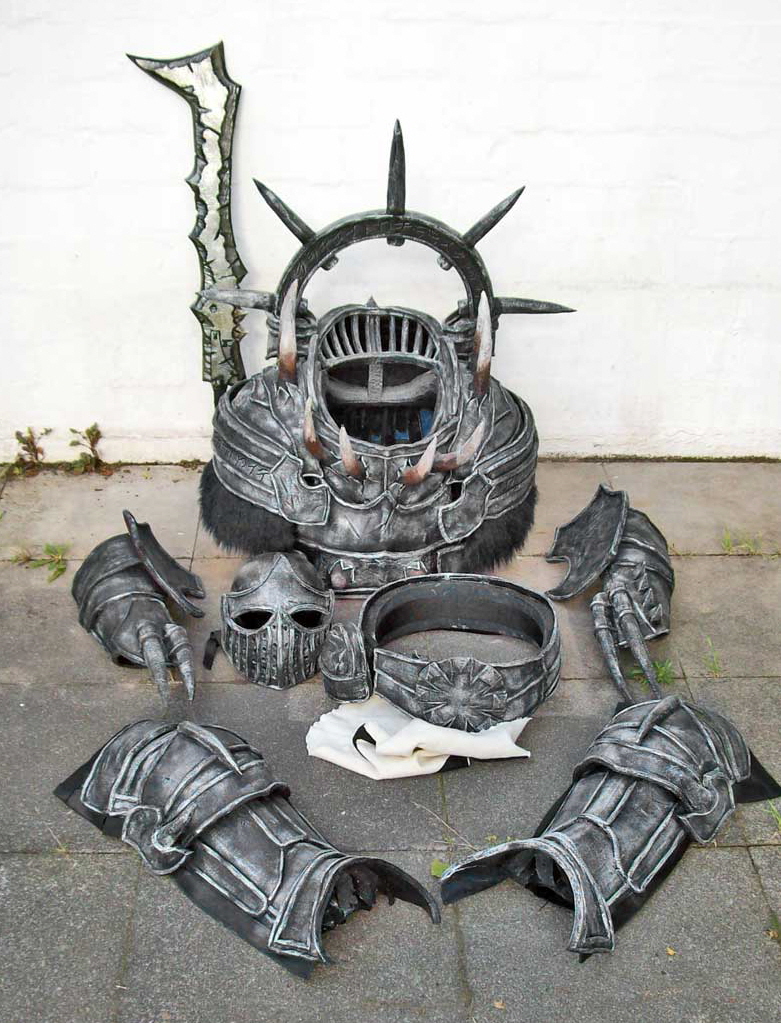
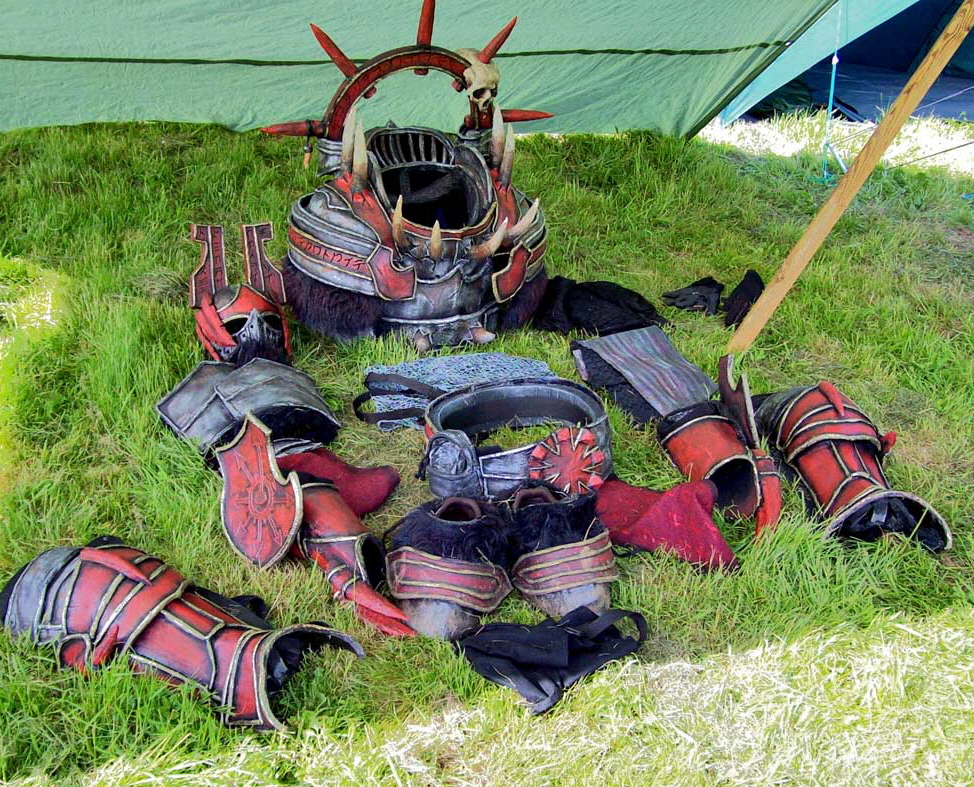
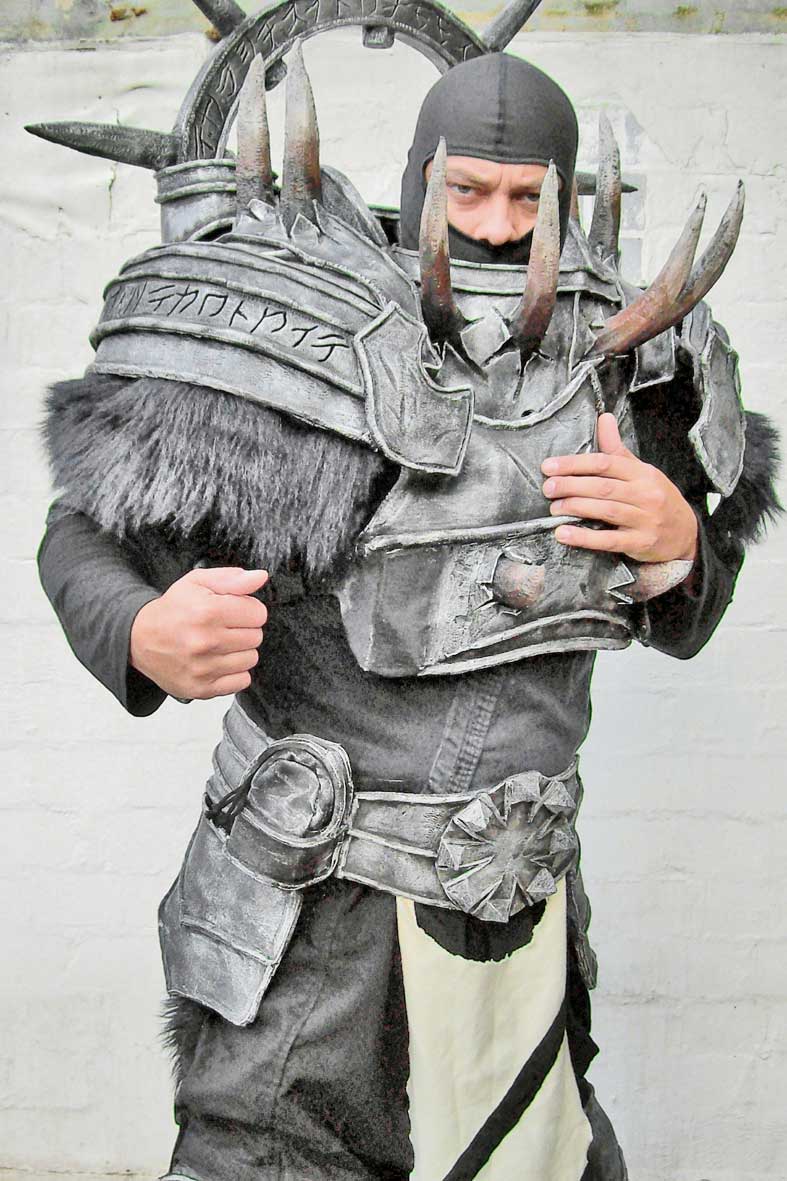
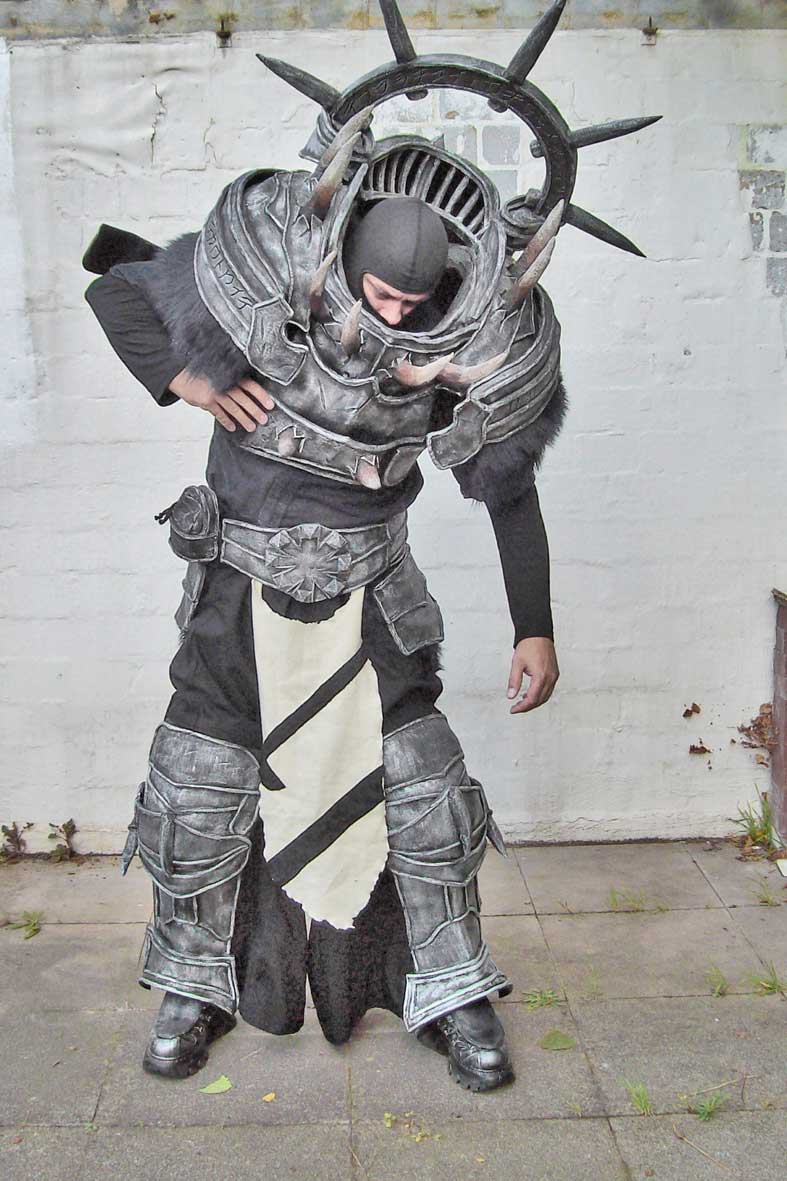
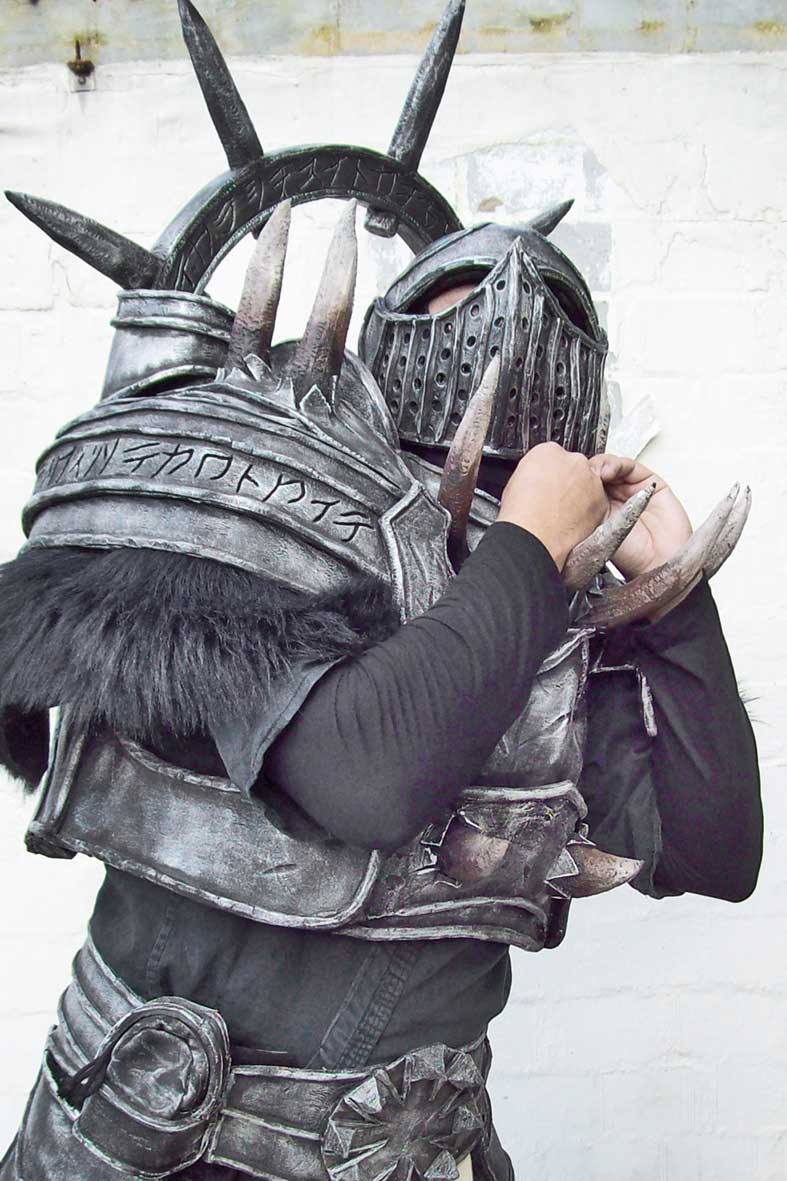
Chaos Armour Construction principle: By and large, the following agenda was taken into consideration: The documentation consists of more than a hundred pictures- but the website´s subtitle “special interest” calls for a comprehensive documentation. I´ve decided against galleries and split the content into the seperate pages “helmets and masks”, “harness”, “belt”, “arms”, “legs” and “fibreglass- feet”. All pictures can be zoomed with rightclick context-menue. The building proceeded in three main phases: First harness, arms, belt and simple mask, then legs and helmet, then new colour scheme and new helmet. And then time and again odds and ends... On Youtube 2 variants of the armour can be seen in motion: This seems a good place for the links to the dokumentations of the armour´s parts (click picture or underlined text): |
|
|
||||||||||||||||||||||||||||||||||||||||||||||||||||||||||||||||||||||||||||||||||||||||||||||||||||||||||||||||||||||||||||||||||||||||||||||||||||||||||||||||||||||||||||||||||||||||||||||||||||||||||||||||||||||||
|
By the way: The correct translation of “Kung Fu” is not “secret, devastating dragon- killing hitting- technique” but simply “hard work”. |
 |
 |
|
|
|
|
||||||||||||||||||||||||||||||||||||||||||||||||||||
|
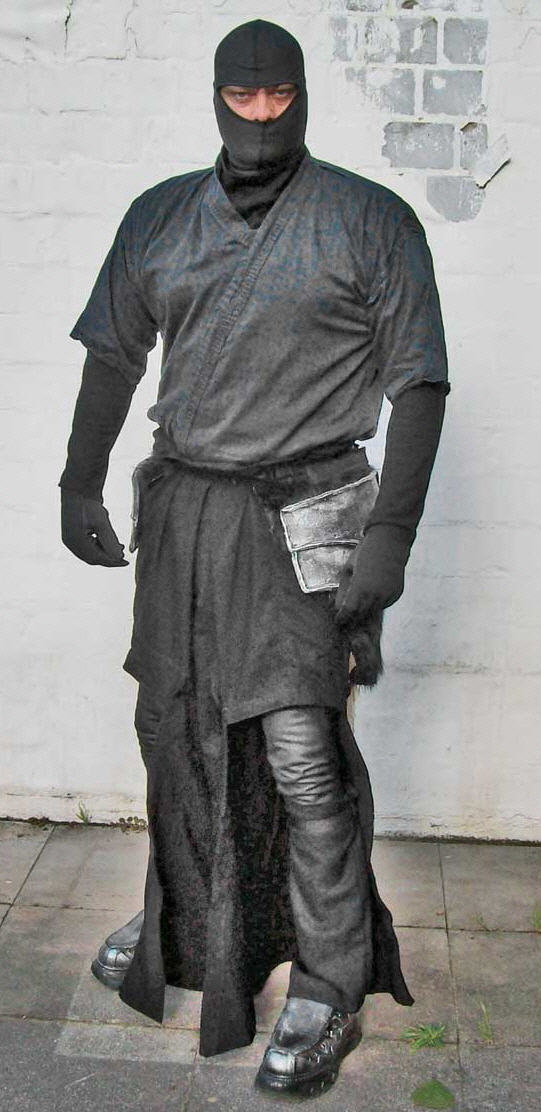
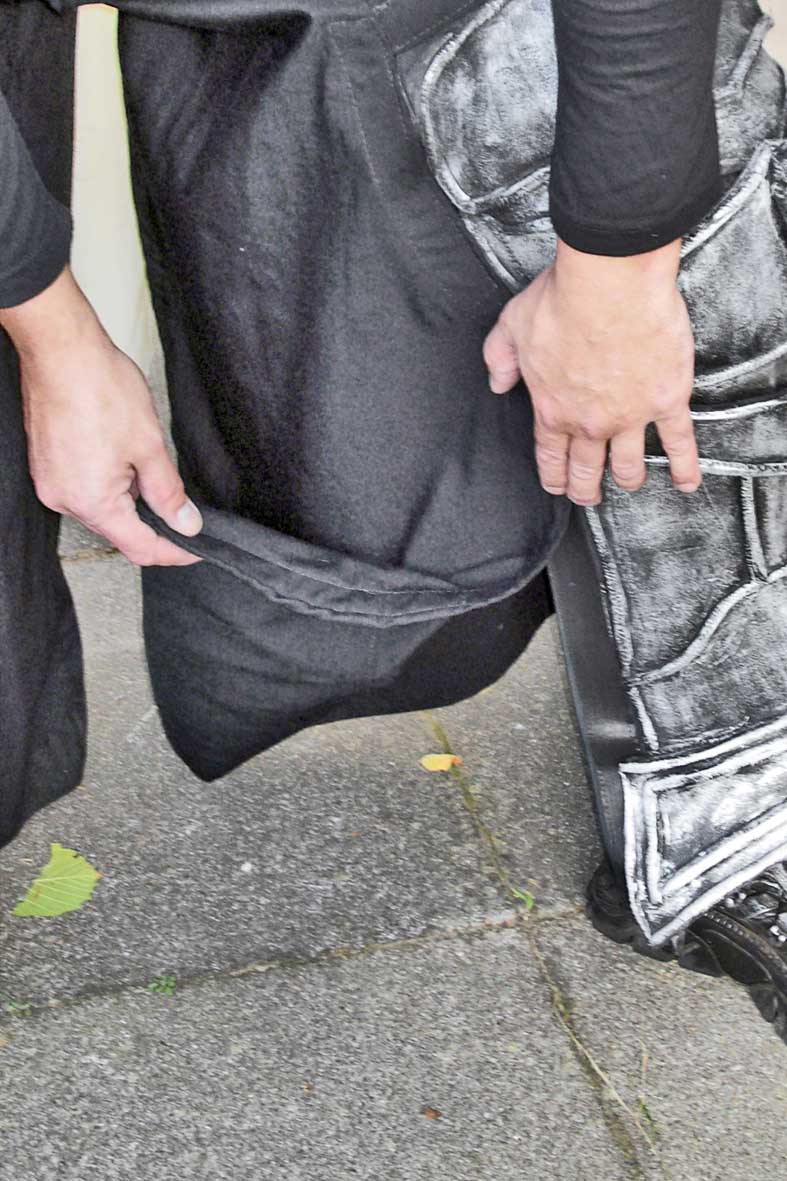
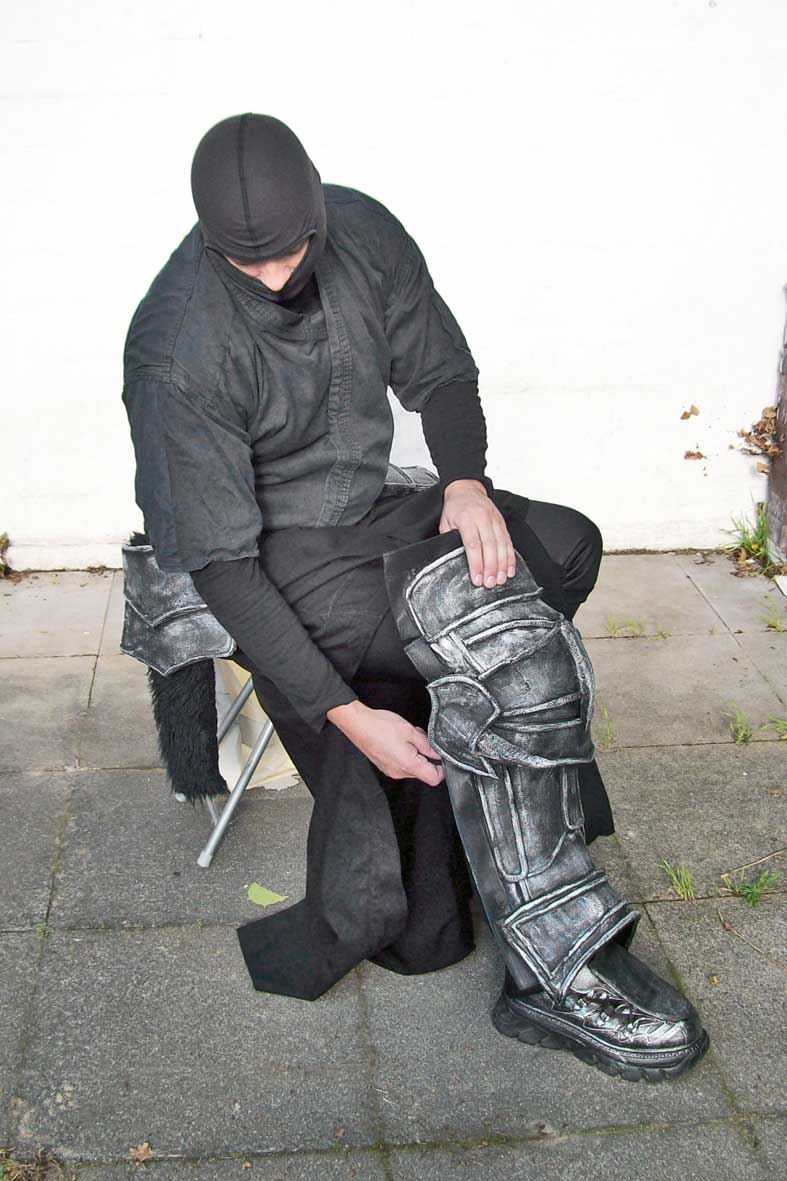
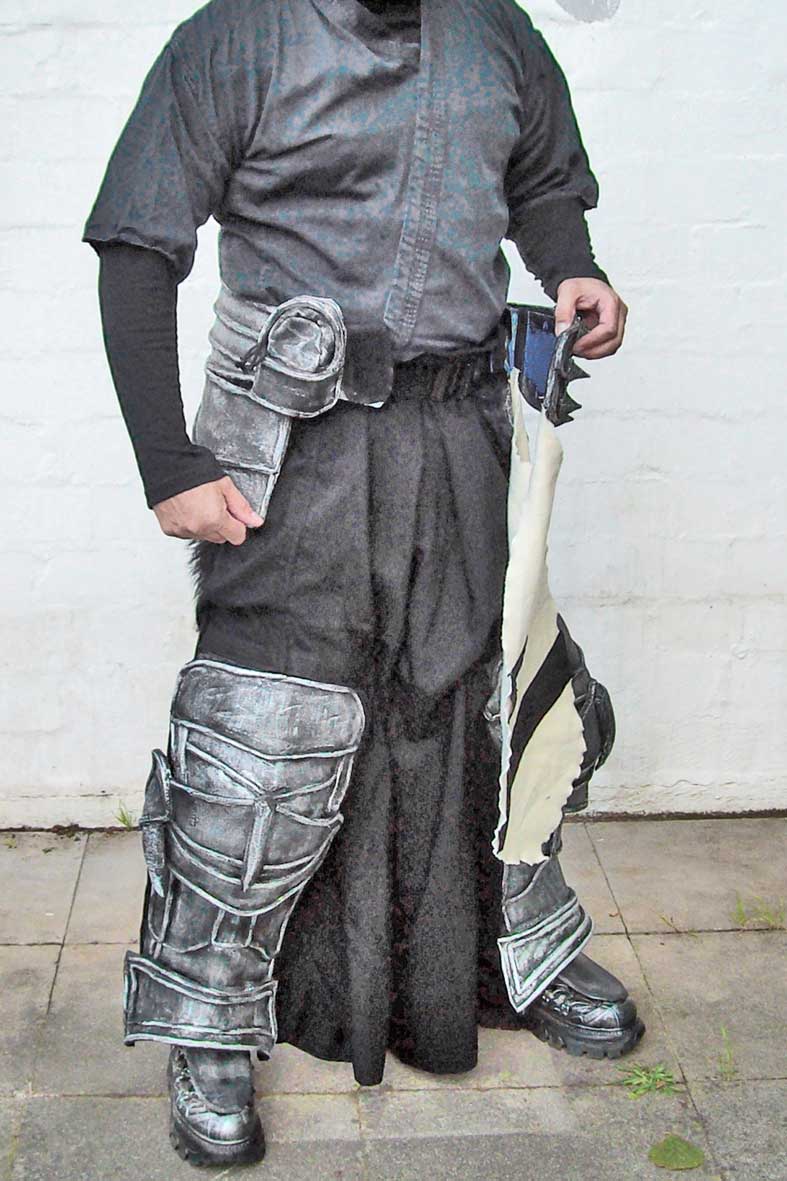
above left: Velcro- strips (soft side on the cloth for easier washing) and push- buttoms secure the hakama to the sides of the leg- armour. |
 |
|||||||||||||
 |
|||||||||||||
|
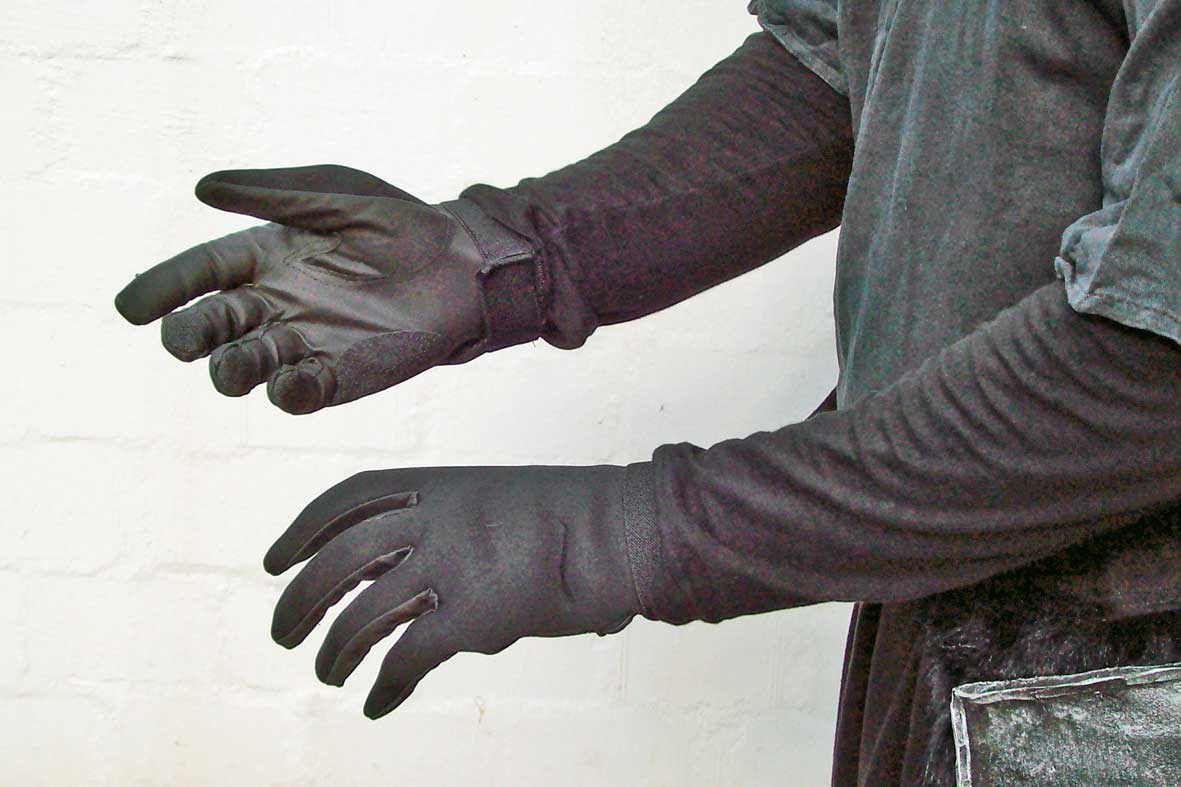
above left: open harness on one side and get in (easier than it looks. See video about how fast it really is) |
|||||||||||||
 |
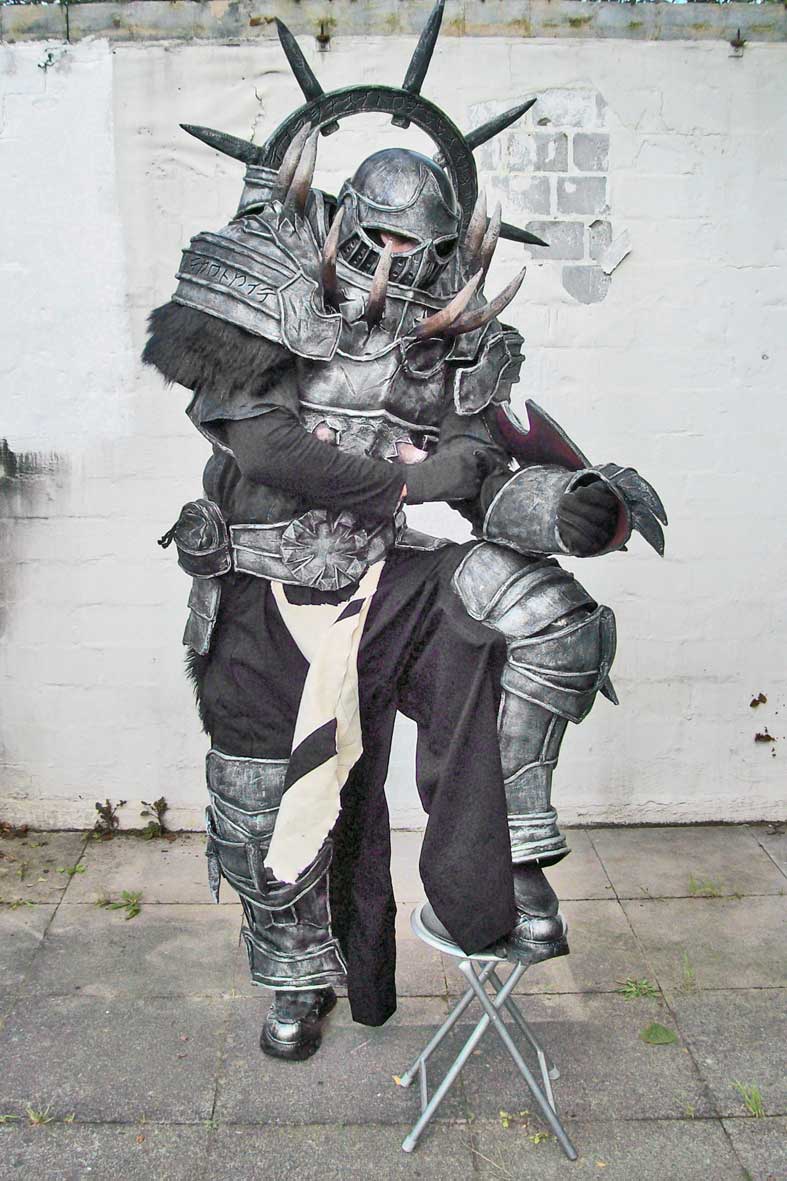 |
||||||||||||
|
above left: helmet |
|||||||||||||
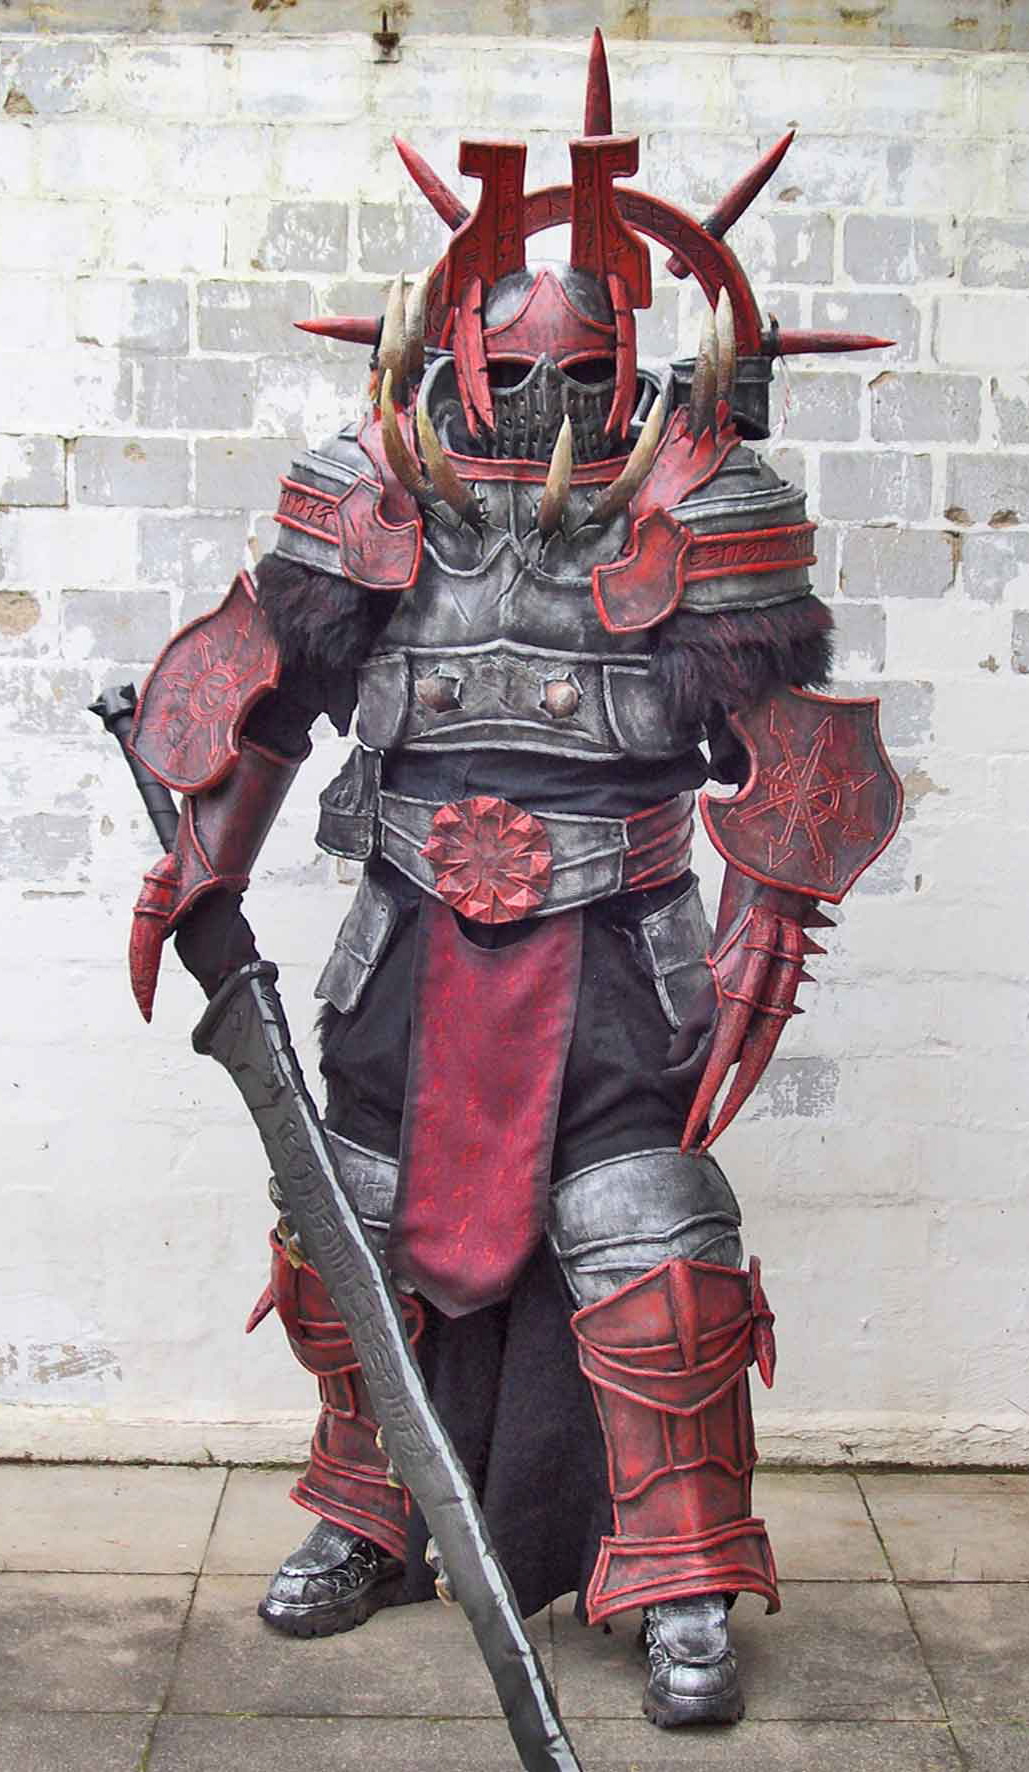 |
|||||||||||||
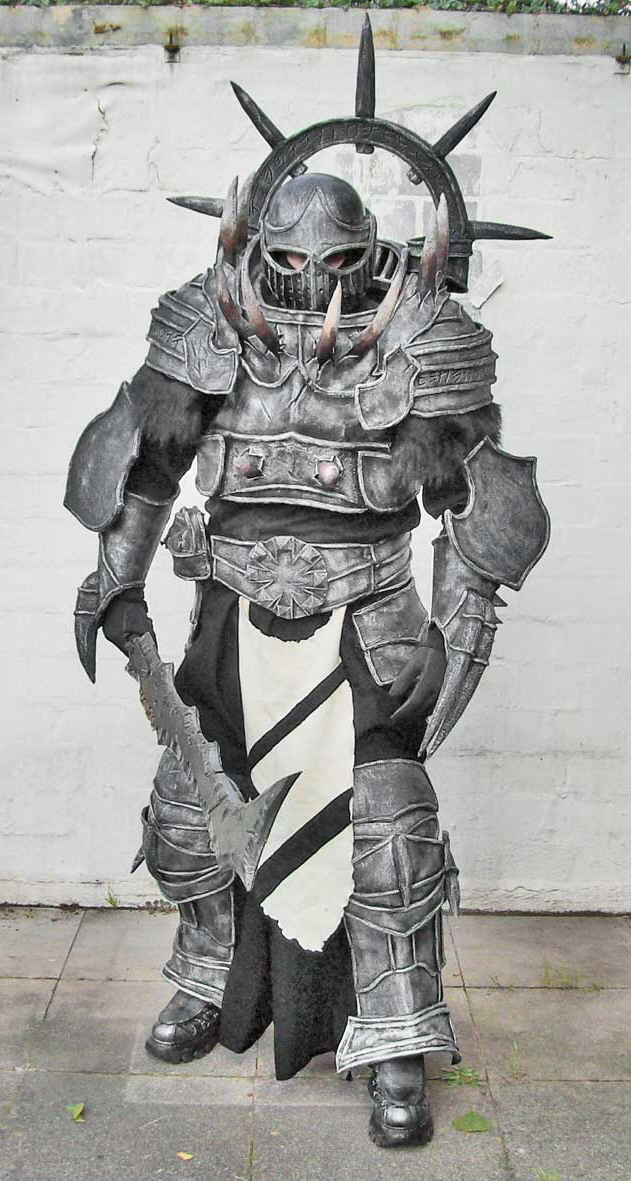 |
|||||||||||||
|
There we are. Time needed for dressing up: about 10 minutes. below: colour schemes numbers 2 (left) and 3 (right) |
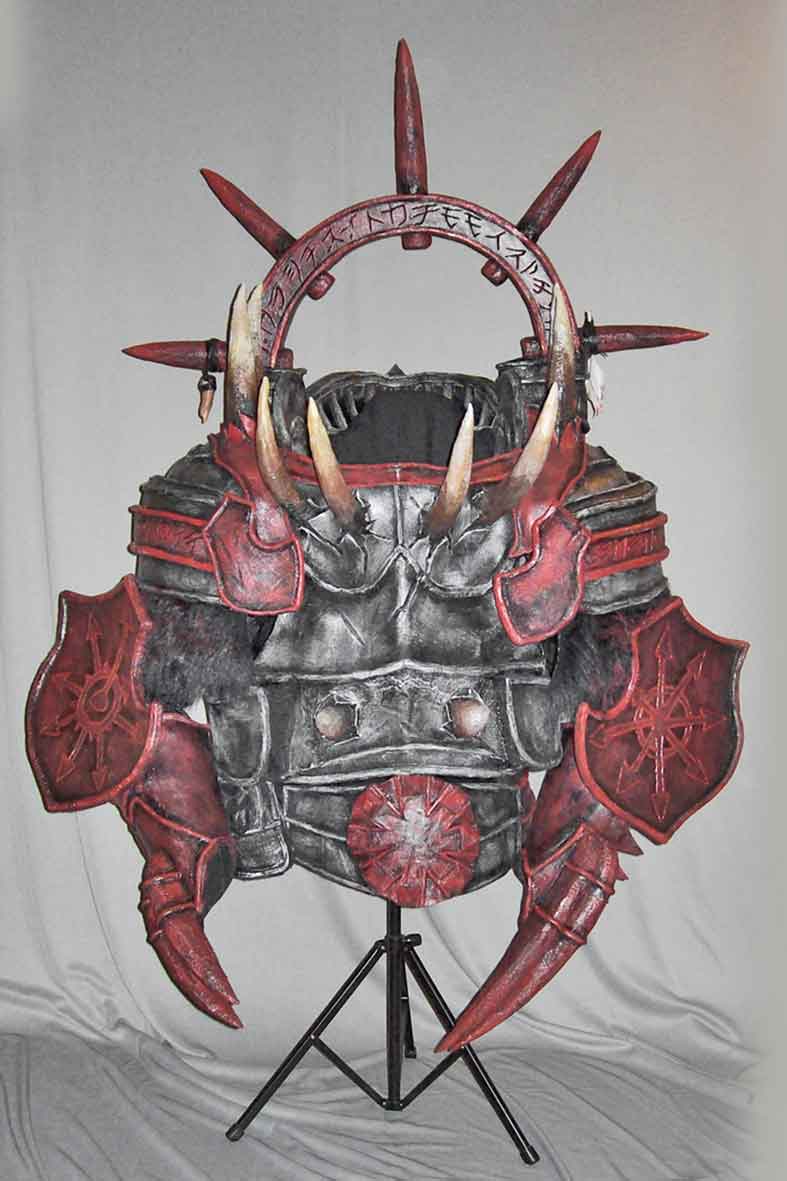 |
|||
 |
|||
|
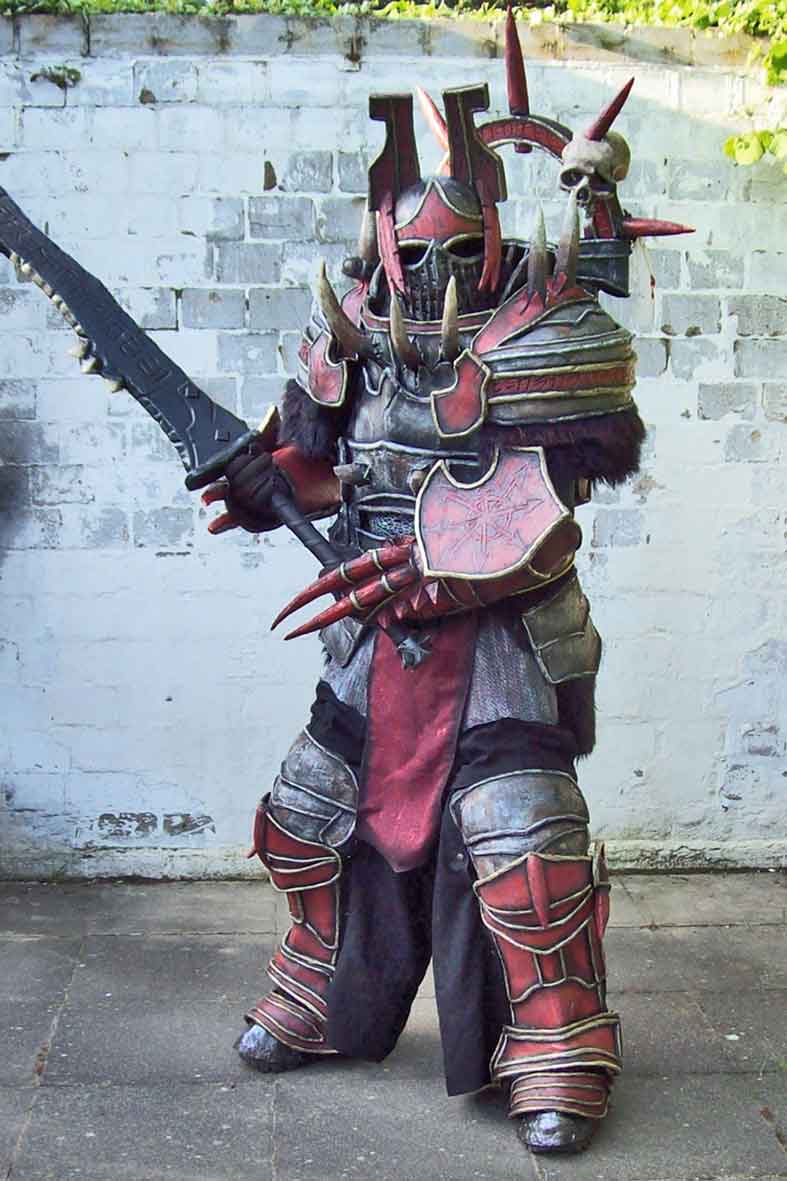
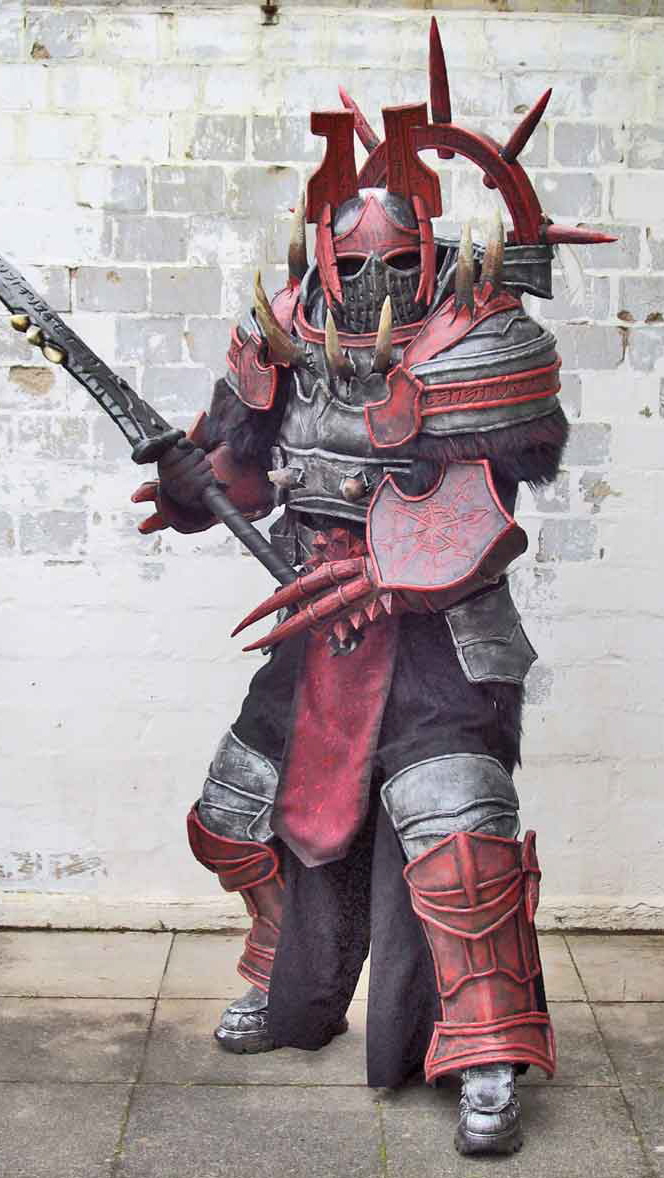
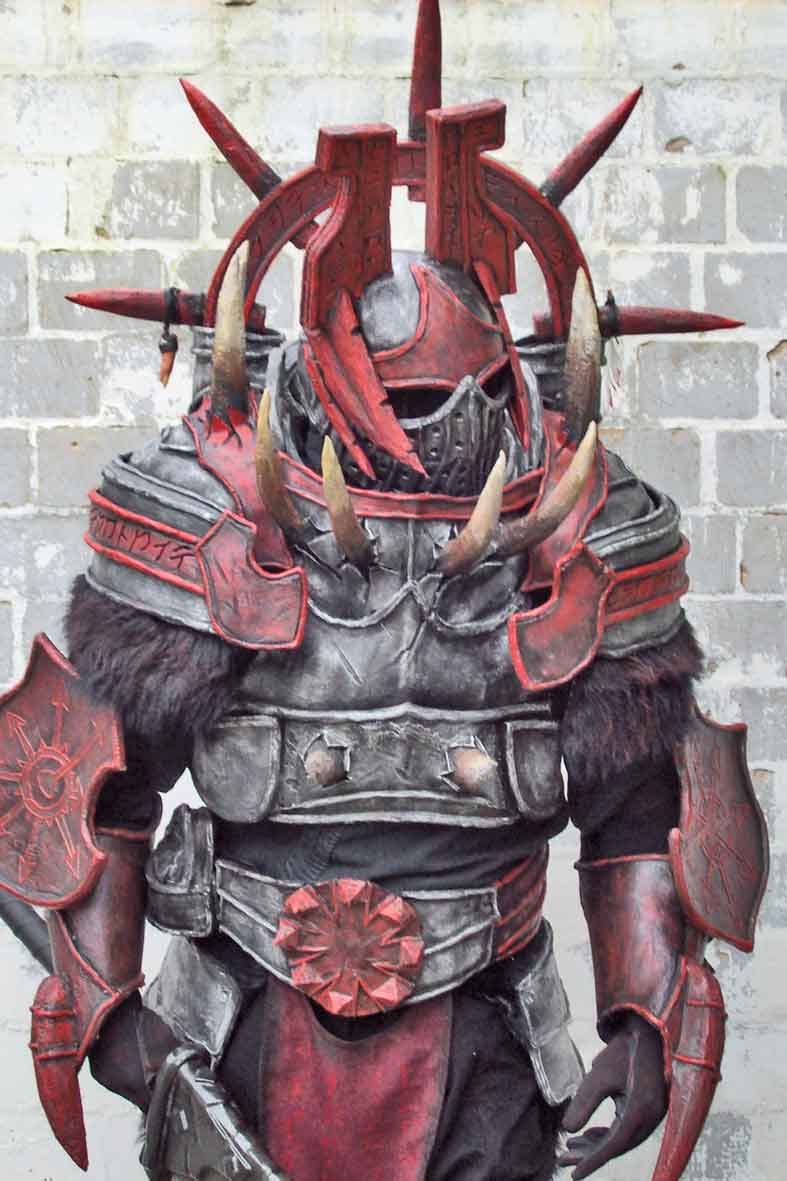
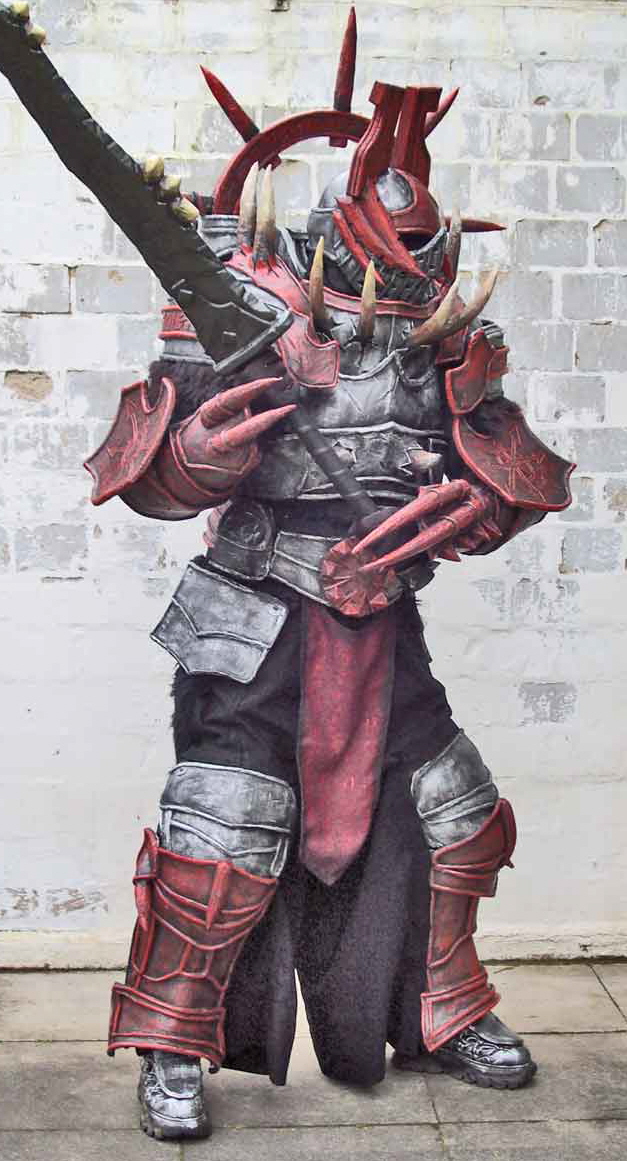
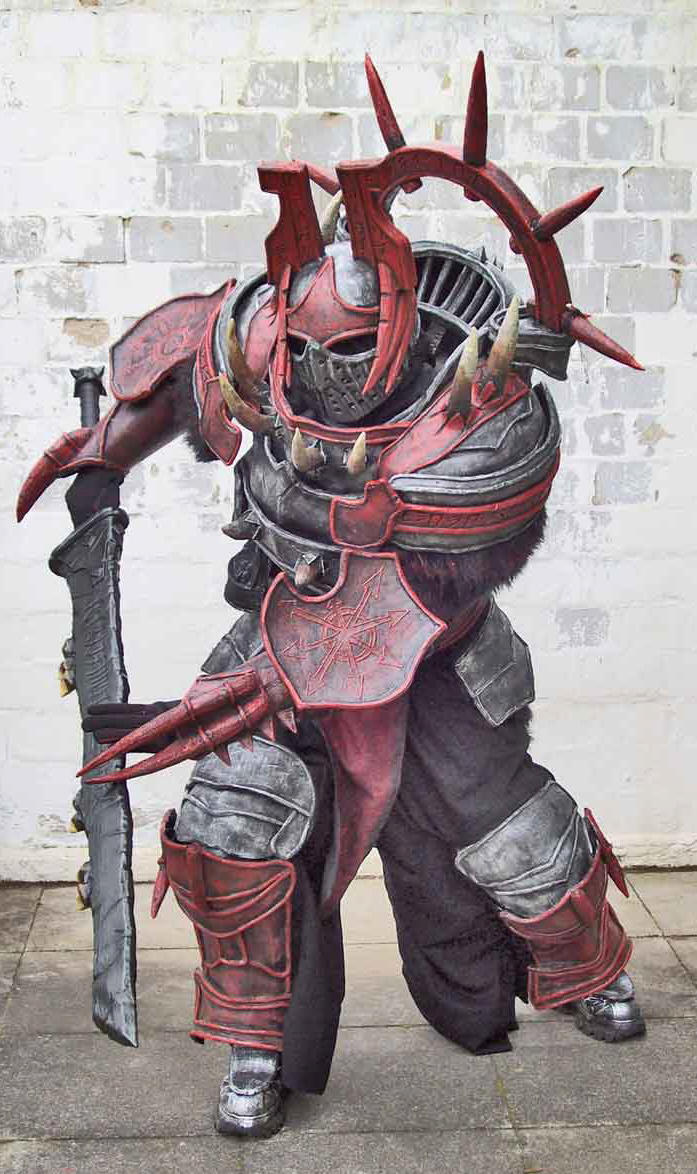
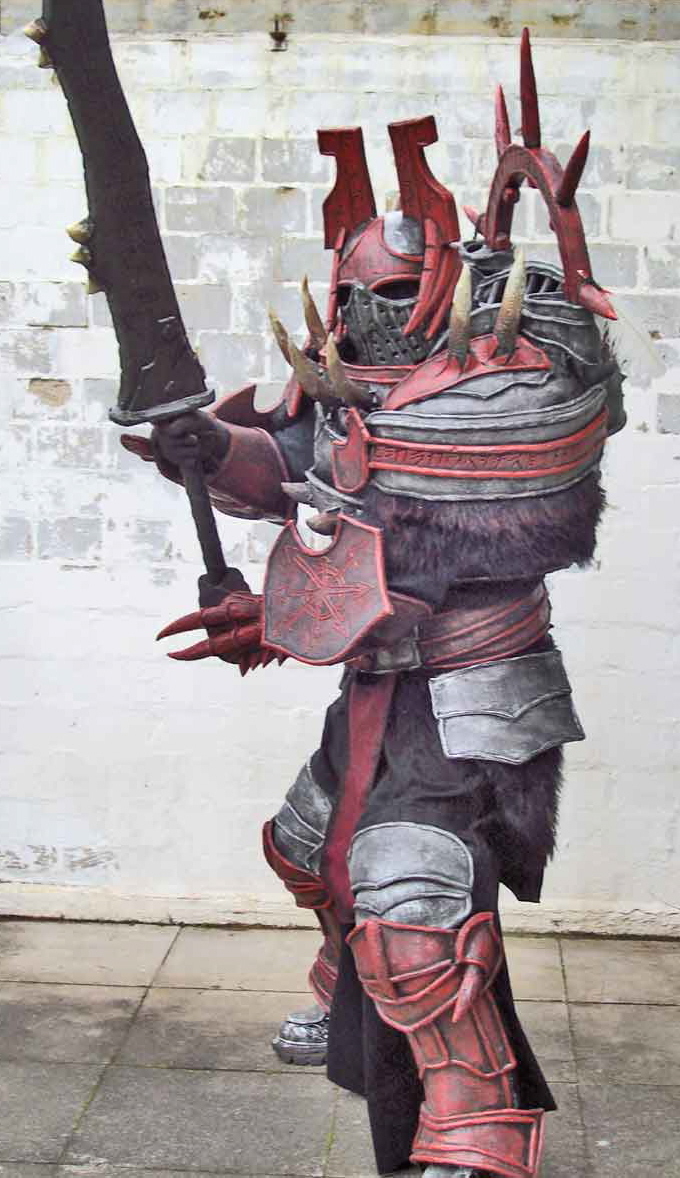
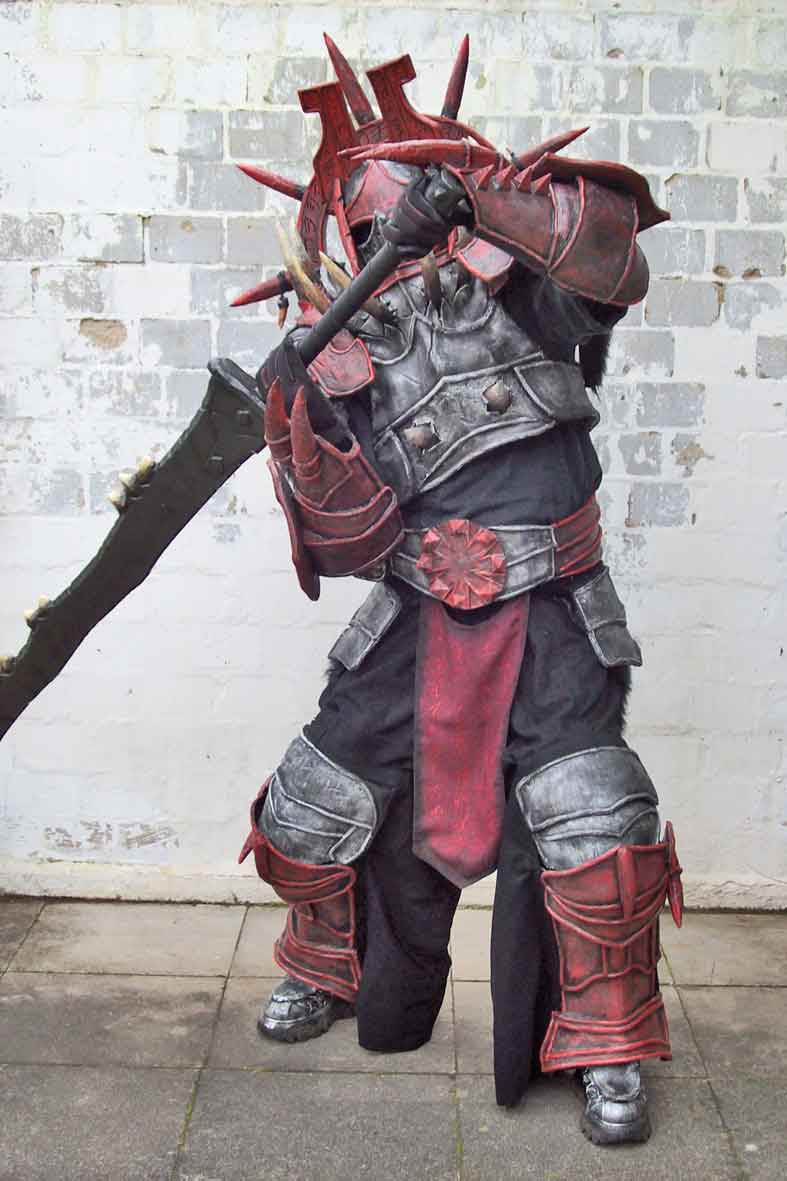
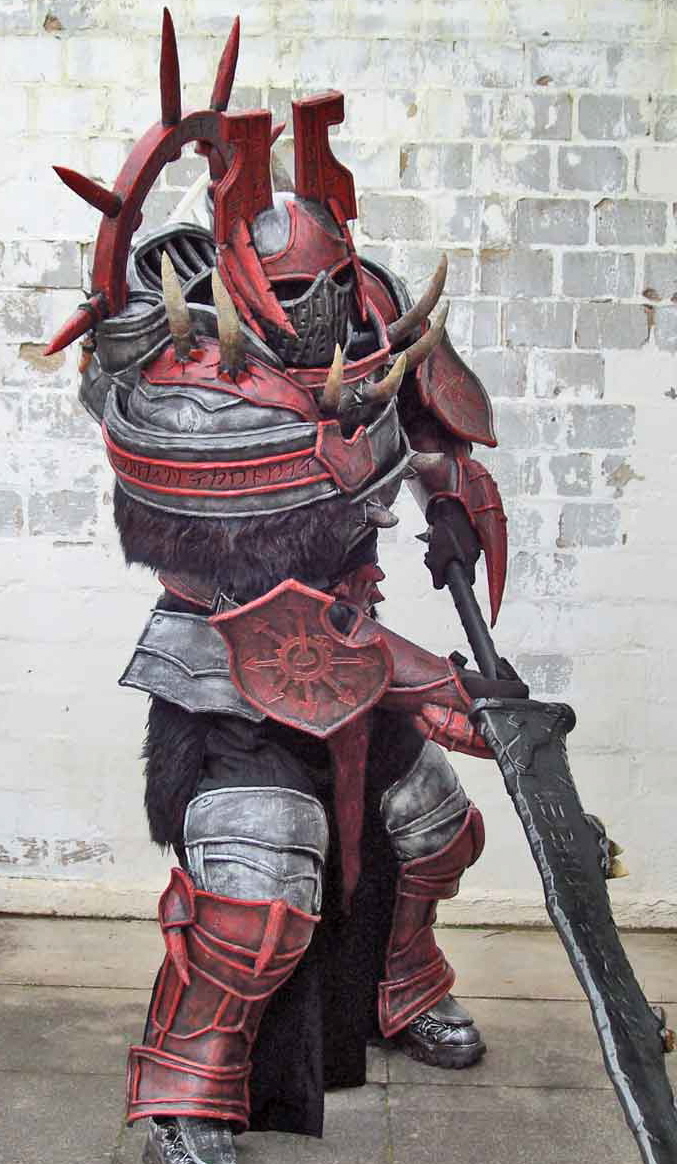
Finally, the surface should be sealed somehow to protect it at least a little from abrasion- damage. I don´t use latex but Pattex transparent, applied like paint with a brush. The stuff is quick- drying, highly flexible, odor- neutral (important when the armour ist presented on a stand in the hallway) and sun or heat won´t harm it. And in case of damage the surface can be repainted with acrylics - even in a short game- pause. Granted- a latex surface is infinitely more rugged but vulnerable against sun, heat and a phenomenon called- “latex- cancer” which would ruin so many working- hours that I just don´t want to risk it. Also, when damaged, a latex- surface is much more difficult to repair. below: Working with the greatsword. Due to the fact that the volume of the armour is much bigger than its content (i.e. yours truly) some moves have to be adjusted. Although I could wield a real two- handed sword while wearing the outfit, luckily a larp- fight doesn´t have to be realistic: it should be theatrical. A dinstinct contact is sufficient to count as a “hit”- the techniques used are most definitely not meant to harm anybody and we lay stress on the fight “looking good” despite its competitional character. |
 |
|||||
 |
|||||
 |
|||||
|
below: some blocking- movements to the right |
 |
|||||||||||
 |
|||||||||||
 |
|||||||||||
|
below: some blocking movements to the left |
|||||||||||
 |
|||||||||||
 |
|||||||||||
 |
|||||||||||
|
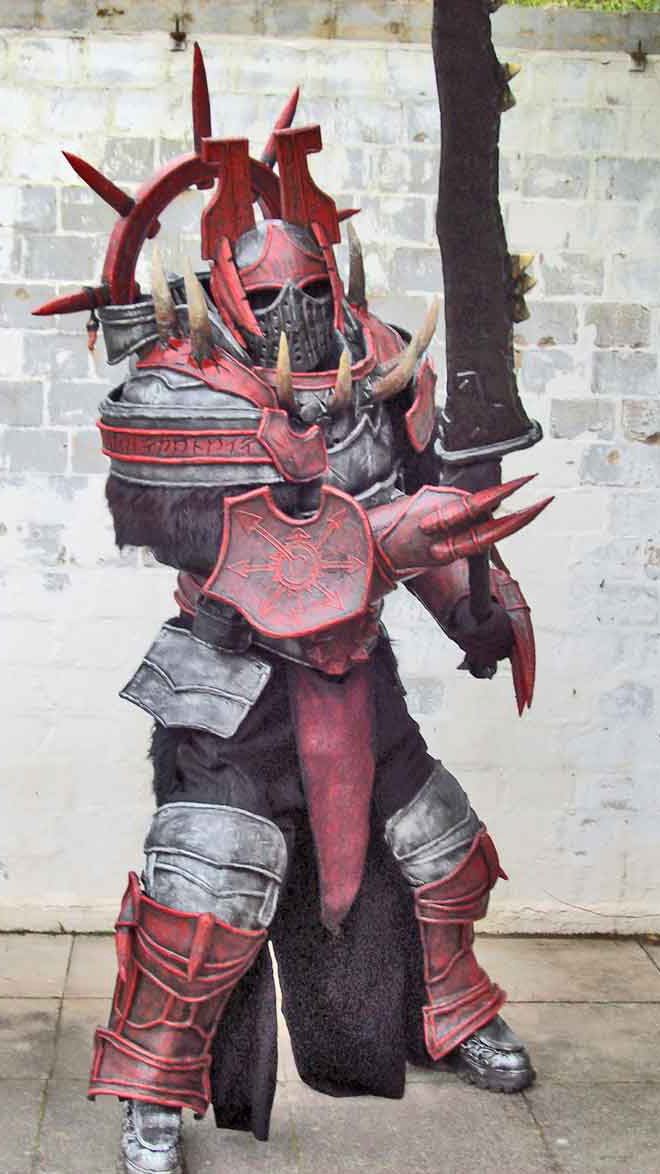
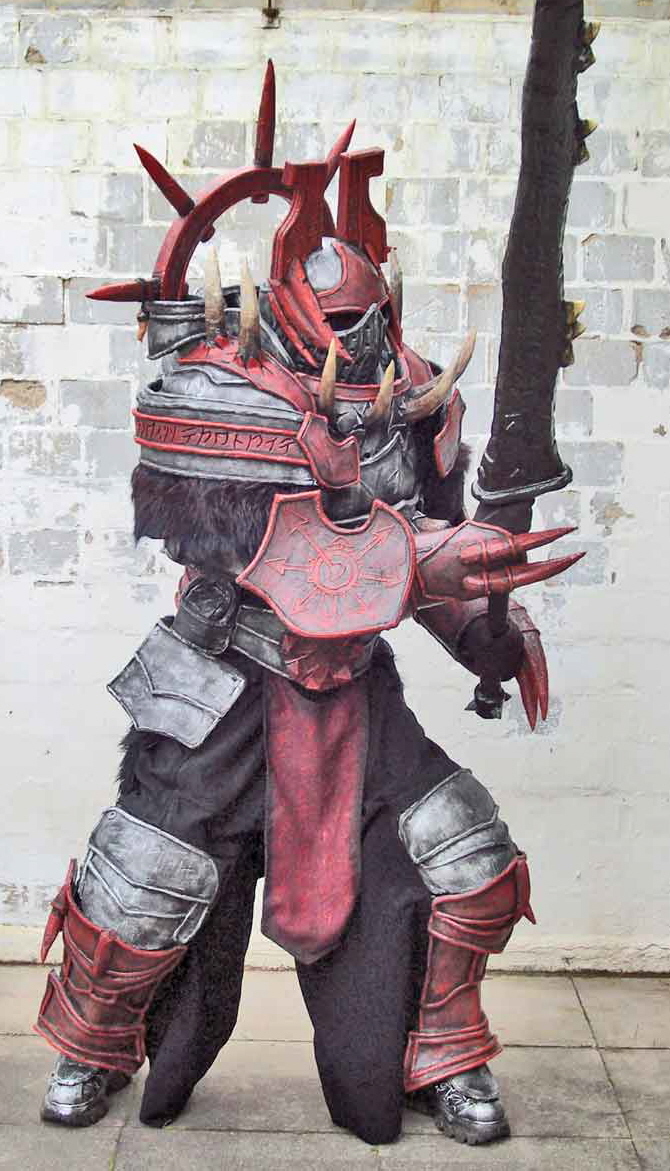
With such projects one should use the word “finished” only in a very careful manner.... last year I stated something in that direction right on this place here, but that quite obviously has been greatly exaggerated- see on top of this page this year´s version (2013) with new glassfibre-feet, completely new colour pattern, added “mesh” details, new trophies on the halo and a small removable taclight on the right shoulder. This page should be revised because it doesn´t show the armour in its currend form, but that´ll have to wait. And I´ve got more plans for the future: broader shoulders, removable halo... also for later. |
| [Home] [Deutsch] [English] [about me] [what´s new] [Contents] [about monsters] [faqs] [other sites] |
